
Today we are continuing to explore motivation and reasonable techniques to get our Squadrons painted and on the table! I present to you, the A Wing.
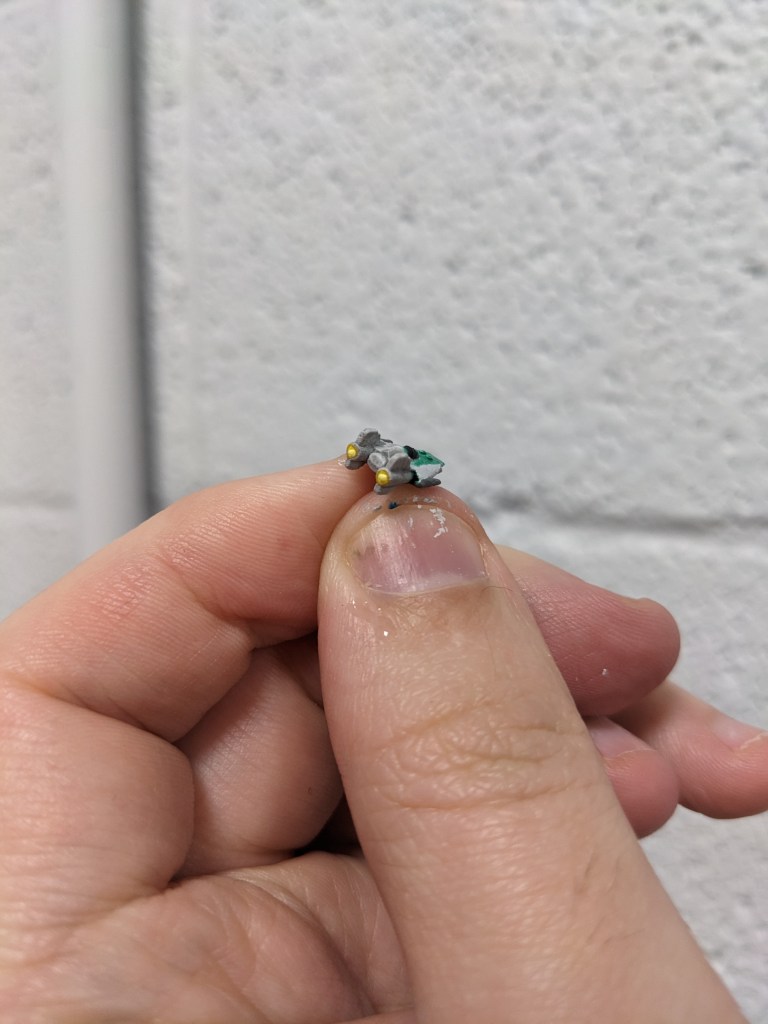
First thing you will notice once you start trying to paint straight lines is THE NOSE IS MISFORMED! Defect in the mold from the looks of it. Despite that, we are going to get paint on it and call it a day!

Despite being smaller, it’s easier to hold onto than the B wing. That being said, we are just using the tiny brush today with the exception of first white coat.

Doing things a tad backwards, I started with Base Abaddon Black from the Games Workshop paint line. Just like yesterday, still not a promotion of product or sponsorship. I just like the paint. I did the cockpit with it. You don’t have to be dead on in the lines, which makes it easier to do it first.

Moving on I used Base Corax White and did the entire ship outside of the cockpit. If you get a bit on it like I did, no worries that is what touch ups are for at the end.

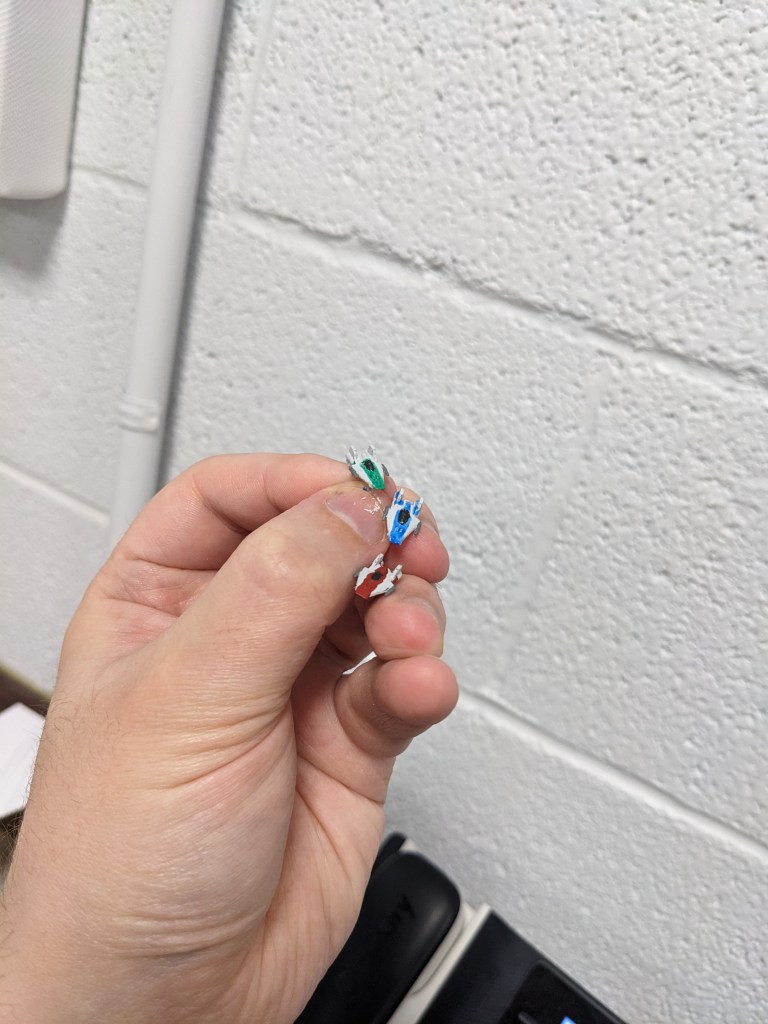
Trying to match actual colors, like mentioned in the other tutorials, is hard because of all the slight variations over the years in various media. Also, like the B Wings, I wanted to make my named heroes stand out. The characters and their squadrons got Ace paint jobs while the cannon fodder got the classic red scheme from the movie.
I used Green for the character’s A Wing. The Green scheme typically is just the nose stripe, a hoop being the cockpit seal, and a ring where the engine meets the body. I don’t have a lot of bright greens in my collection, doing mostly camouflage for my Imperial Guard in Warhammer. I used Technique Waystone Green. Technique paints are GW’s first step into specialty paints like mud and cracked ground, gemstones, etc as a one coat solution. This particular gemstone color later inspired their Contrast paints, so I tried using it like one. It took three coats but came out great!
Blue is the classic ace scheme seen in multiple games such as X Wing Miniatures. Blue has the nose stripe, a stripe around the upper fins where they meet the engine, and the top of the body where it meets the cockpit. Like before, I did not have a good shade to match the canon so I used Technical Soulstone Blue. Once again it came out great, using the white to keep the translucent paint bright colored but it took about 3 coats. These take a bit longer than the other GW paints to dry, so give it a few minutes in between each one.
Red is the traditional scheme first seen on screen. It has the nose stripe, the entire bump of the hull where it meets the back of the cockpit, and the first part of the engines. I used Base Mephiston Red.
In all of these cases, your paint stripes will likely go past where you intend. Not a big deal, just give it a minute to dry and then correct it with Corax. It is much easier to do it that way and not stress about it.
Lastly, I used Layer Dawnstone for the cannons.
These are tiny ships, take your time and just correct with Corax when you over bleed. It’s a thick white paint and will cover other colors easily with a heavy coat once you are done with the other colors.
Now that the colors are on your ship and its looking spiffy, use Shade Soulblight Grey on the white paint. As a very watered-down light grey, it is not a big deal if it touches the other colors. This is to just help tone the white down a tad and gently shade the few panel lines on the ship, mostly in the fins.
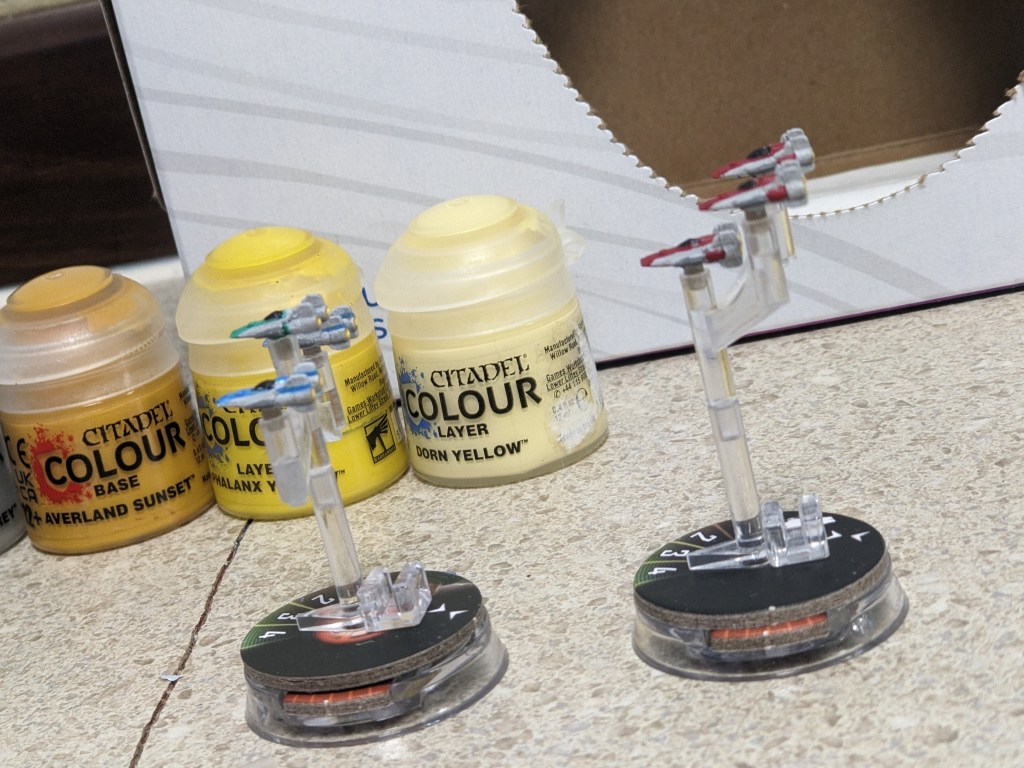
Lastly, engine flares! This is the easiest thing to do on the tiny ship. Fill the back circle of the engine cowl with Base Averland Sunset.
Then almost fill in the circle with Layer Phalanx Yellow. This paint can be kind of thin for a layer, so give it a moment to dry a bit.
Lastly, use Layer Dorn Yellow to fill about half of the total circle in the middle. This will create a nice pop with a yellow glow around it as seen in the movies. No need to follow up with a wash here, as it’s not as white hot as other engine flares like the Millennium Falcon.


How did yours turn out? Let me know! I hope these tutorials inspire you to get your squadrons painted and make your games more immersive.
