Battle Report #2: The Houdini Falcon
These games are me getting familiar with attack wing again after several years. Currently I am using 1.0 ships and cards with the x2p0 revision until I can get my 2.0 conversion kits. The general tactics and maneuvering are still relevant from what I understand.
The imperial goal for this particular game was to try overwhelming a superior ship with a tight formation of TIE Fighters. Alone they do not pose a great threat. Get them throwing lots of attack dice at once however and they can deal a ton of damage. Taking them up against one of the best X-Wing pilots and the Millennium Falcon would be an excellent practice run.
The rebel goal for this game was to focus on using elite ships against a numerically superior force. With an imperial hero leading 5 TIEs and a heavy bomber as a backup, they would have to be particularly skillful to evade overlapping fields of fire.
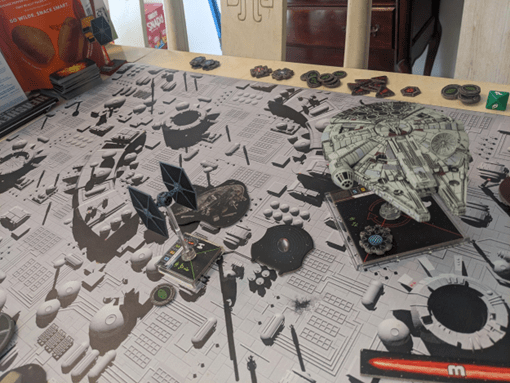
Han Solo and Wedge Antilles were out on a patrol over an old space port when they ran into an imperial patrol! Dark Curse was taking a new wing of recruits out for a blue milk run. They had intended to be practicing bomber escort duties for the TIE Punisher, but were going to do it for real!

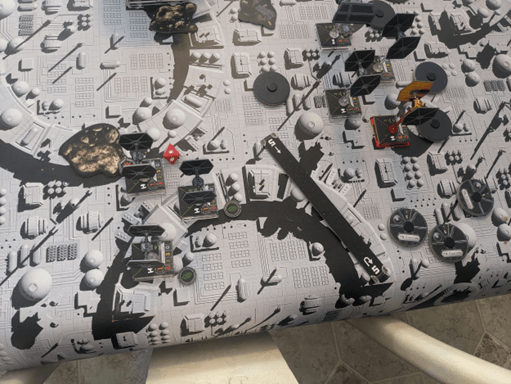
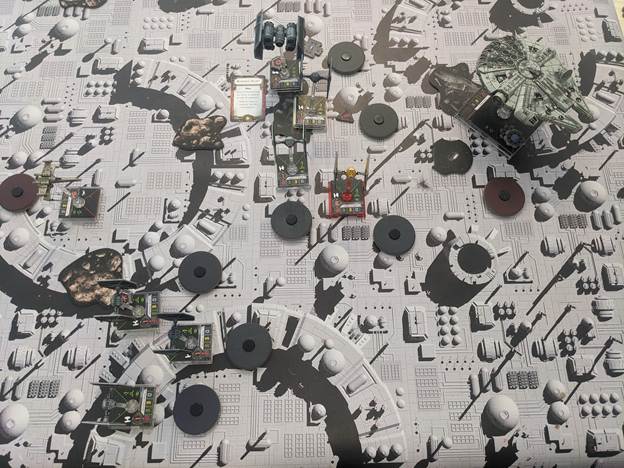
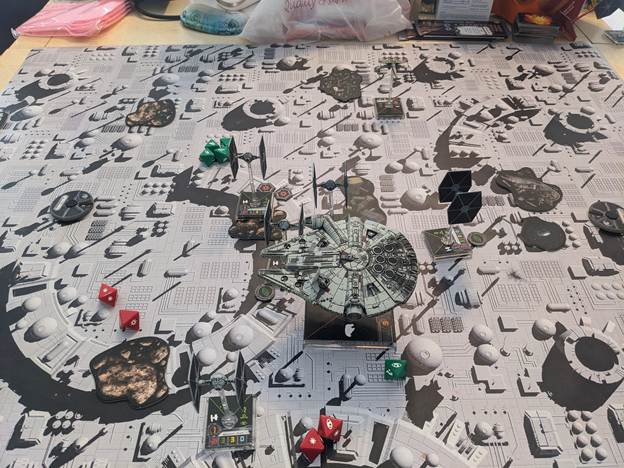
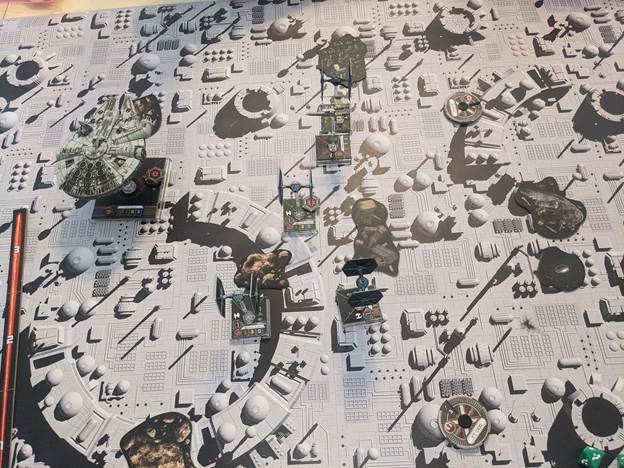
The rebels won the initiative, and deployed into a corner area to compact the imperials and then cause traffic jams as they avoided a full on confrontation.
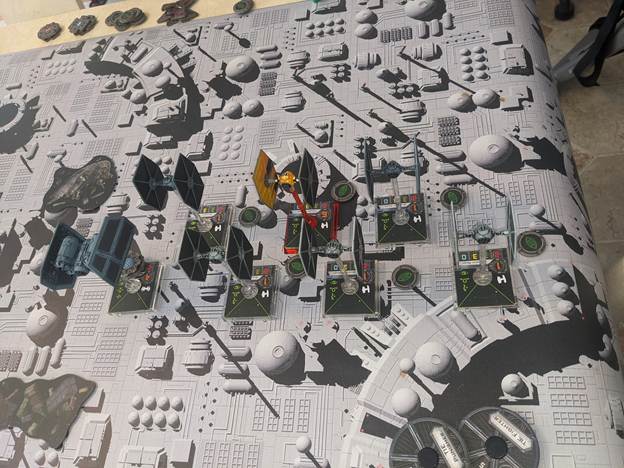
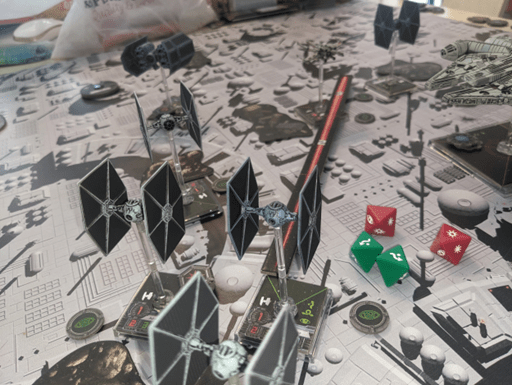
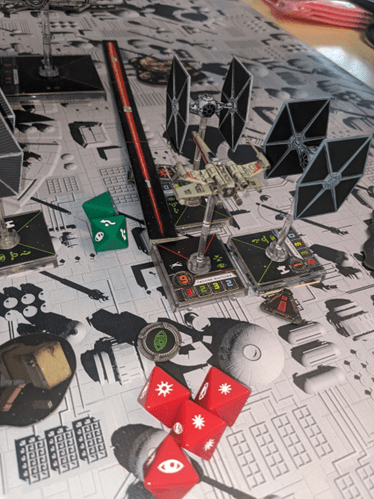
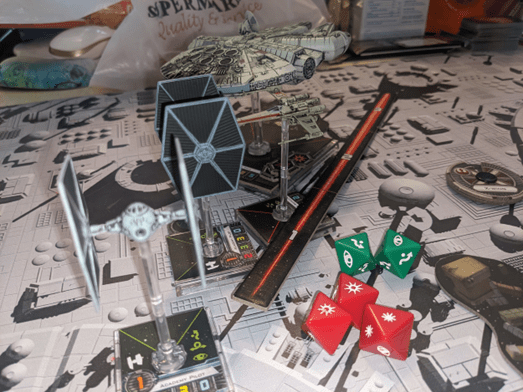
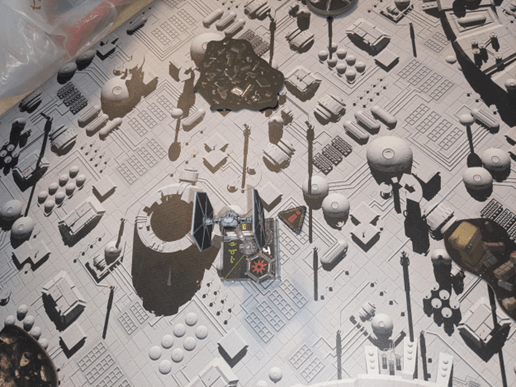
The imperials in turn ranked up their TIEs in a standard double wave of 3 with the Punisher running flank. Note that the TIEs left room between each other to avoid collisions once they started to perform banks and turns. I have found that about 1.5 bases worth of space is about as tight as you should run them side by side. Also, when running heroes remember to put them in the back wave to help avoid collisions during movement.
Round 1
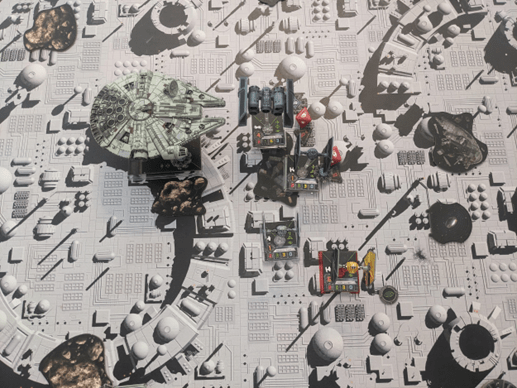
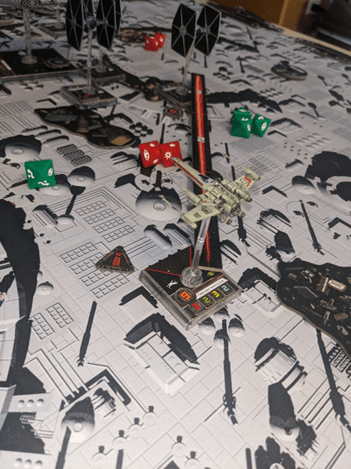
The TIE Fighters howled forward at full speed, eager to close in on the rebels before they could get out of their immense forward fire power! The TIE Punisher moved up at the best speed possible and then boosted to keep up.
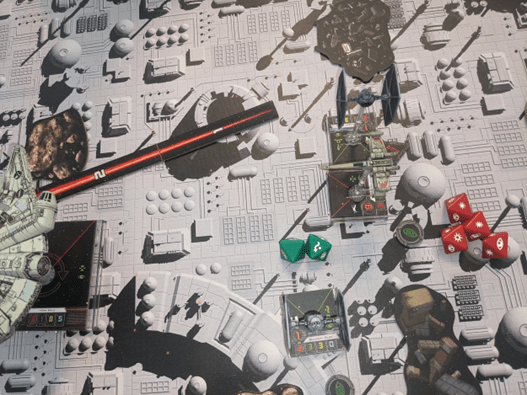
The Mellenium Falcon banked left and then boosted right to get out of the worse of the TIE Fighter arcs. With the cover of the asteroids, it was in a reasonably safe spot to get in some early damage with minimal reprisal.

Wedge pulled a left bank and cruised in the back a bit, letting the imperials over extend. They would not be able to fight them head on, and needed to split them up to isolate the vulnerable TIEs in smaller numbers.

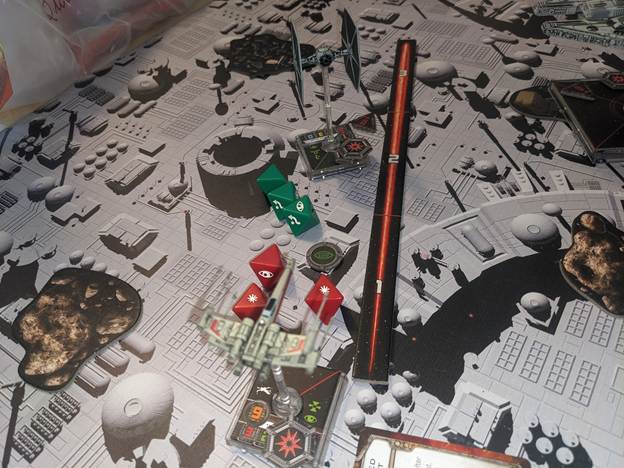
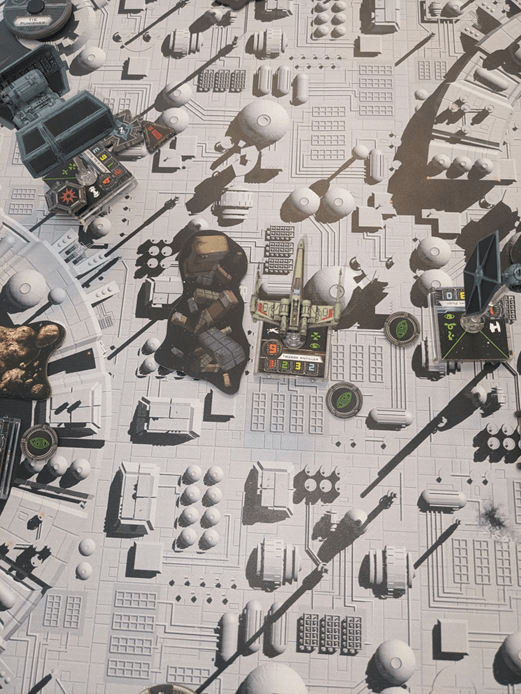
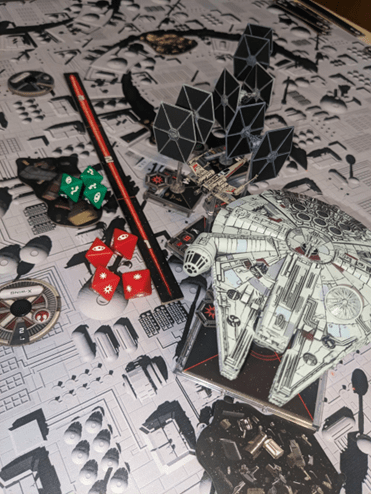
Han Solo took the first shot, firing an impressive salvo through the debris field! The Punisher did its best, but ended up taking 66% shield damage!
With Wedge unable to engage, the Dark Curse was free to engage at his discretion. He fired at long range and was able to inflict 20% loss in shields to the Falcon!

The TIE Punisher and two TIE Fighters also fired upon the Falcon, but were only able to inflict another 20% loss in shields.


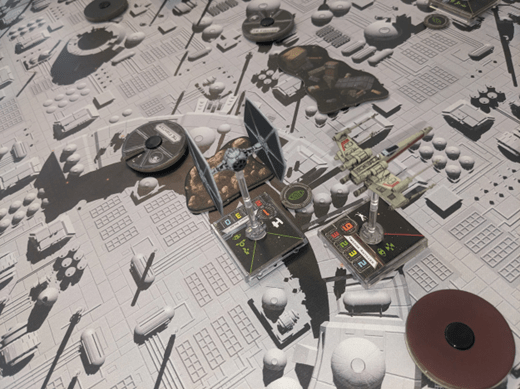
Round 2
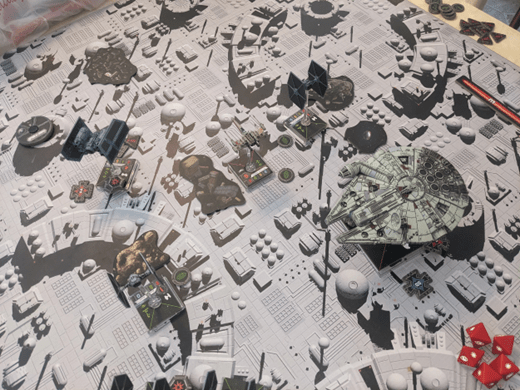
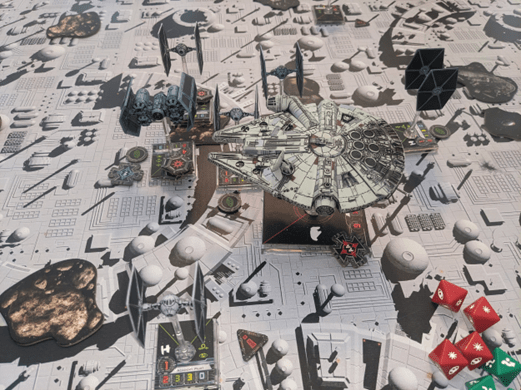
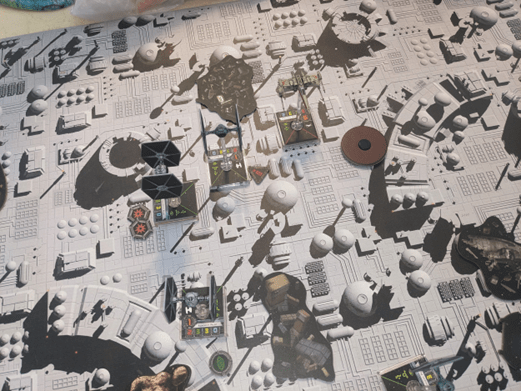
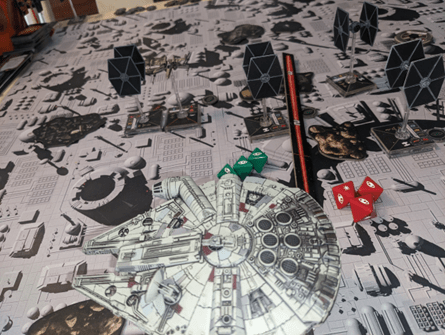
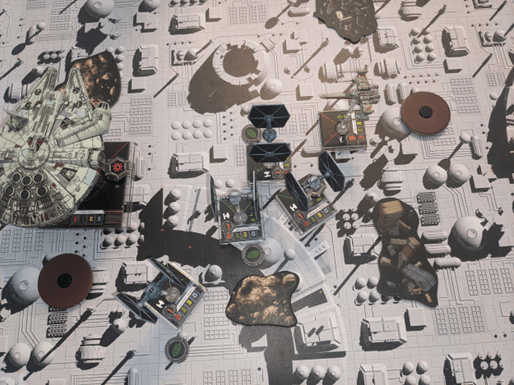
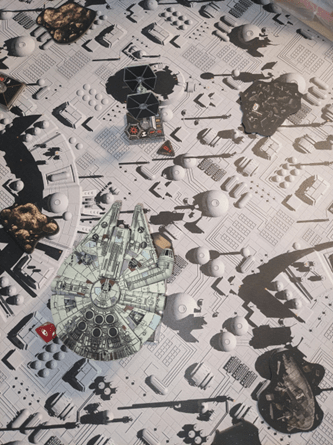
Dark Curse ordered his squadron to split up. Leaving Wedge alone to pick them off one by one would be a costly mistake (he makes the target suffer -1 Agility) and the Falcon could wreak havoc with its 360 arc of fire. Three TIE fighters split off and continued full speed ahead. One misjudged the distance and scraped against an asteroid to stay in formation. It was damaged but still functional.
Unsure exactly where the Falcon would go, the remaining TIEs spread out. The two remaining academy cadets hooked right at various speeds with Dark Curse. The Punisher deployed a Cluster Mine to protect their rear and also hooked right to potentially tie up the Falcon.
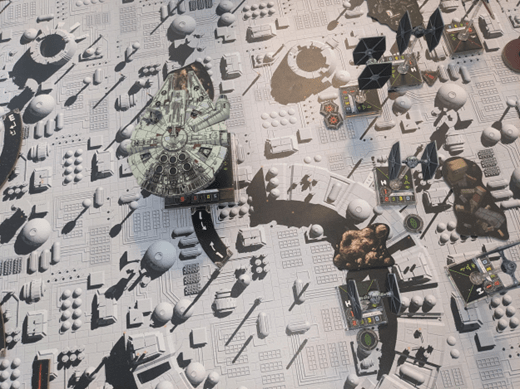
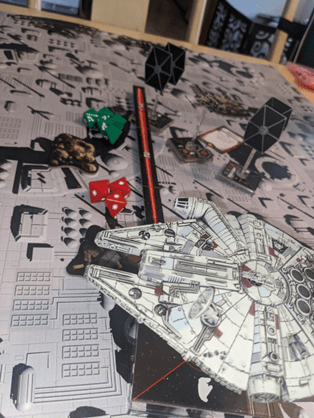
The Falcon went full power to the engines to avoid the presumable trap. Not happy with how many TIEs could shoot him at point blank range, Han Solo didn’t want anyone telling him the odds and boosted again!

He clipped some debris, but didn’t suffer any damage. He was able to get out of all the fire arcs while avoiding the mines! What a Houdini!

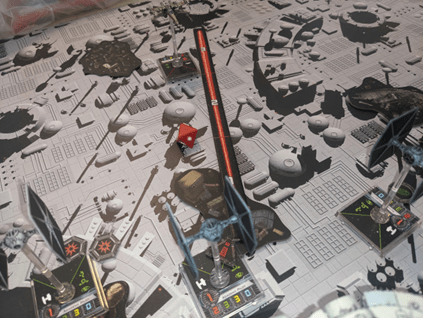
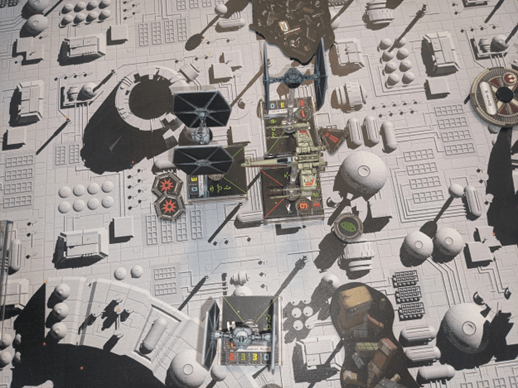
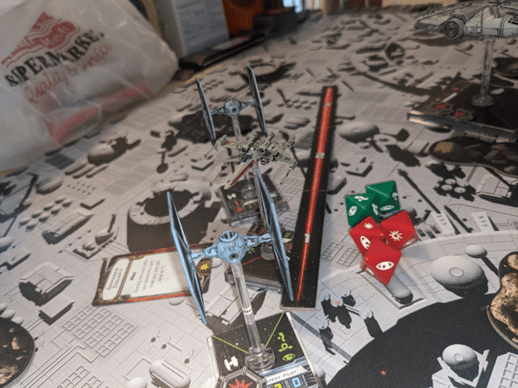
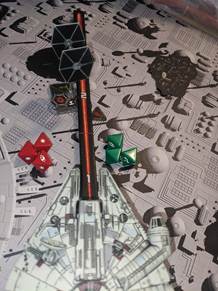
Wedge banked to the right and locked on the Punisher. It was carrying a TON of fire power in terms of bombs and torpedoes. The only thing keeping the flight lanes safe was the risk of catching all the TIE Fighters in friendly fire! Shooting it down first was going to be a long process, but necessary to keep it and its ordnance in check.

Wedge fired Proton Torpedoes! It wasn’t the best strike, but it did take down the last of the TIE Punisher’s shields!
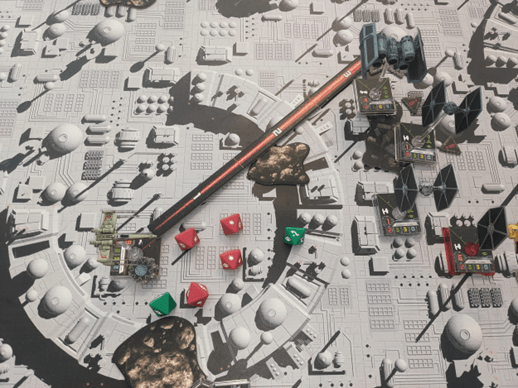
The Millennium Falcon put some punishing fire power on the TIE Punisher (ok ok I will stop). A critical hit ensured it was spinning out of control and could not go straight as the pilot regained control! Further damage was suffered from another hit.

Only one of the TIEs that went after Wedge could attack him. He did so and inflicted 100% shield damage! Wedge was going to have to be careful going forward or his fighter could easily be crippled! (The other TIE with him in his firing arc was in range 0 of an asteroid, so he was unable to make ANY attacks!).
Round 3
The TIEs dedicated to distracting Wedge all performed minimum distance Koiogran Turns to get into pursuit mode. If enough TIEs in the battle were facing every direction, there would be nowhere safe to go!

One the TIEs going after the Millennium Falcon clipped an Asteroid but was able to avoid being damaged.

The TIE Punisher needed to get turned around and fast, so the pilot pulled a Koiogran Turn, crashing into a debris field. He was able to keep the bomber intact, but he pushed him and his ship to its limits!

Dark Curse pulled a tight right turn and wanted to be more assertive to put pressure on the Falcon. He did a barrel roll.

Placing himself in a much better location depending on Solo’s plans.
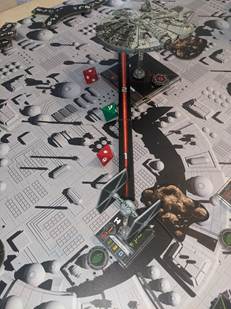
Wedge came up fast in support of the Falcon. Knowing Han would have to turn into the thick of things or fully disengage and be on the run, Wedge came up to catch the imperials in a nasty crossfire! He came in behind the Dark Curse. Knowing the hero was too hard to target (he does not allow rerolls or dice modification when attacking him), Wedge settled on keeping a wary eye out for trouble.

Solo did a slow tight turn and flipped the Falcon into an evasive maneuver. Minimal fire would be coming in, but the only solid option was defense at the moment.

Wedge came in on Dark Curse’s tail, zapping him with laser bolts! Dark Curse was clipped but still in the fight!

Han fired at point blank range, hammering Dark Soul’s fighter into a blazing fireball!
With the imperial hero gone, the battlefield seemed more open and less choked with enemy fighters.
A stressed TIE Fighter took shots at the Falcon but missed!


The trio of stressed fighters were unlikely to hit, but had free shots lined up and took the opportunity. They did not do any damage, but were able to open up their maneuvering options again to keep the pressure on Wedge!
Round 4

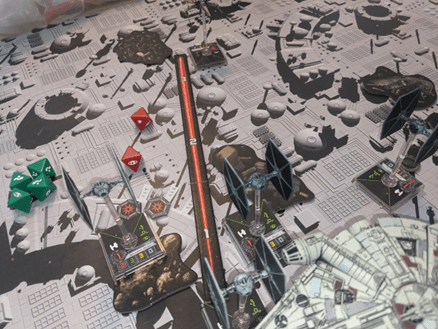
Back on the Falcon’s trail, the TIE lined up a field of fire that should affect it anywhere Solo went.
Another TIE broke off the Falcon’s pursuit to threaten Wedge. Removing this pesky fighter would make hunting the Millenium Falcon MUCH easier.
The trio of Wedge’s best fans came in hot on his tail as well, all keeping a wary eye out for an opportunity to strike!
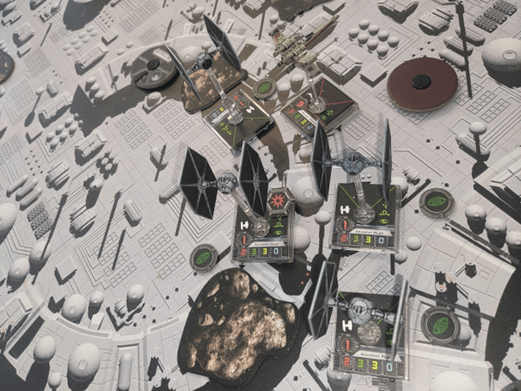
The TIE Punisher cruised in, shedding some strain and regaining composure. He banked to get back with fighter support and to prepare a wall of bombs behind them. If he could get back there in time, he could ensure these extreme maneuvers would be dangerous!
Wedge was in a, well, wedge or tight spot so to speak. He was being swarmed with fighters and could not get turned around to engage them! He turned to the left, trying to shelter behind the debris and get some distance from them. Taking advantage of his agility and obstruction, he kept a wary eye out for incoming fire.
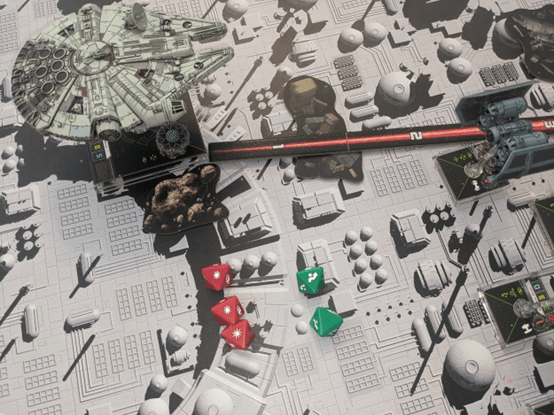
Han Solo moved in slowly, trying to keep some distance from the massed fighters but close enough to try and help Wedge. He realized the Punisher was vulnerable though, and Wedge seemed like he had things under control, so instead he locked onto the bomber.
Solo fired a Concussion Missile at the bomber, but realized he had a bad trajectory and corrected at the last second. (W00t for rerolls with Solo!).

The stressed TIE Punisher took a solid hit from the missile, suffering an additional 33% hull integrity! He was down to just 33% left!

The TIE, ever diligent, flanked with strafing fire and knocked out another 20% of the Falcon’s shield strength!

Wedge’s only fans came in behind, firing wildly after him! While hits on the Falcon would have been more likely, the chance to take out Wedge with some mild luck would have been battle outcome levels of altering! They were unable to land any hits!
Round 5

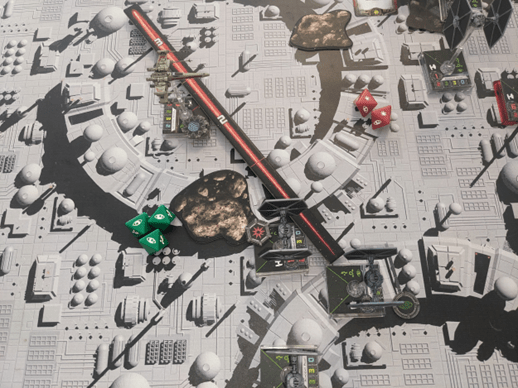
The TIE chasing the Falcon pulled alongside to let it get ahead and give him some easy shots while also giving him a chance to threaten Wedge if the opportunity arose.

The TIE trio banked to the left and kept in formation to track Wedge. The damaged TIE once again scraped an Asteroid but was able to keep his fighter intact, though it was now in really bad shape after two hits!

The Punisher began its trek inwards, ready to drop payloads in all directions if it could hold out just a bit longer.
Concerned that Han would be swarmed, Wedge pulled a Koiogran Turn and prepared to engage the Trio chasing him!
Solo tried to overshoot the group and keep boosting his way out of trouble, but there were simply too many fighters in the way. Slamming on the controls to avoid collisions at the last second, he found himself point blank with several of them!
The crippled Punisher was in his sights! Han Solo fired a brutal volley and took it out in a tremendous explosion of ordnance!
Wedge saw a great opportunity to finish off the crippled fighter, but the pilot was on point and dodged the incoming lasers!
Two of the TIE Trio could engage Wedge, and did so with very poor results. Wedge found himself incredibly lucky yet again!

The TIE continued to strafe the Falcon, chipping away at its shields!
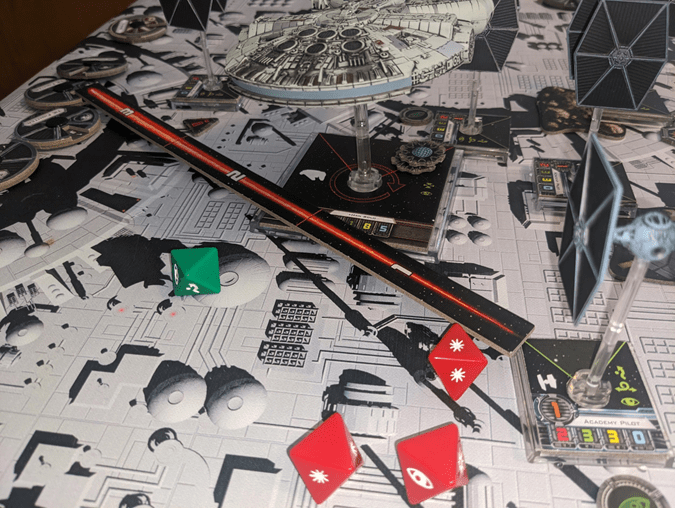
The other TIE caught him in a nasty crossfire, finishing off the Falcon’s shields! It was vulnerable to critical hits now!

Round 6
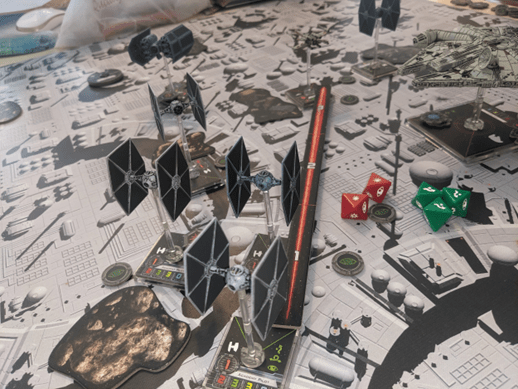
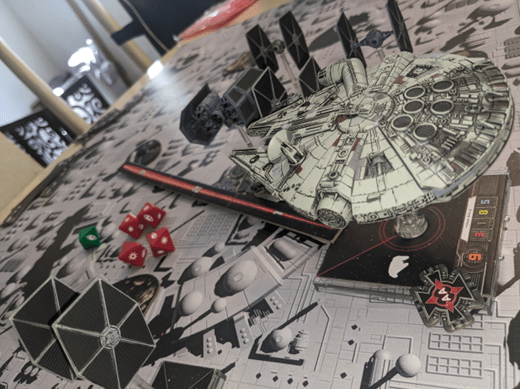
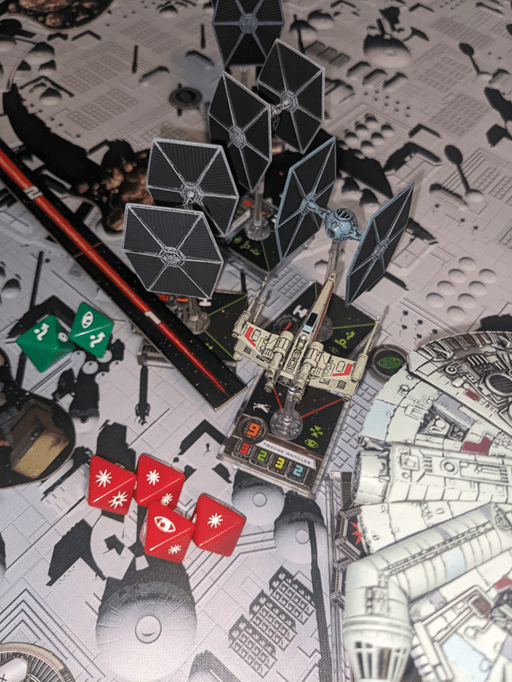
The TIE Trio swarmed Wedge’s position. Confident he was going to try and bank back into the fight to help Han, they formed a kill box using a straight, turn, and koiogran turn!
Knowing Han Solo was going to try and help Wedge, the TIEs on the Falcon performed a wide series of fire angles. One strayed to close the Falcon and had to pull up at the last minute, but it ensured that no matter what at least one could threaten it.

Han knew he was going to be in a vulnerable spot, so he boosted as well to make sure he was not point blank range with the numerically superior TIE Fighters. At that range they could rip the Millennium Falcon to pieces with just a few bursts of fire!
Wedge found himself perfectly boxed in! He managed not to ram a TIE Fighter for better or for worse, but there was a lot of heat on him!
Wedge fired point blank with a devastating volley, obliterating the damaged TIE!
Antilles’ chances of survival were looking up!
Solo came circling in, strafing fire at the rear TIE. The pilot had perfect awareness of the incoming fire and weighed his odds. He could go into a defensive roll and evade the poorly aimed shots or stay on target and keep his chances for better hits on Antilles. He opted for the light damage. He must take out that fighter for the Empire! (Also, If the attack missed altogether, Luke would grant a freebee shooting at the End phase that could hit worse).
Despite the pilot’s choice to focus on fire power, he and his wing mate missed!

Some pretty accurate fire from the TIEs chasing the falcon saw an impressive 37.5% hull damage! (I forgot to use Chewbacca at this point to ignore one damage and regain a shield. Will do that on the next hit if needed).
Round 7
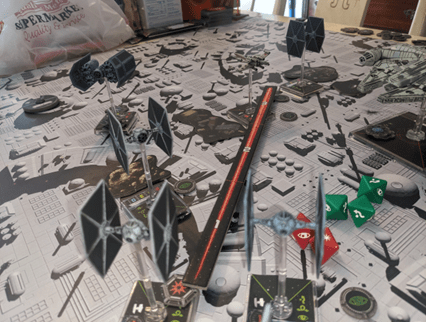
The TIE fighters had a pretty easy time figuring out Wedge and Han’s limited movement options. They piled in and got a lot of overlapping fields of fire going.
The Falcon pulled into what it knew would be a bad spot. Han also had to get out of the way for Wedge to have any chance as well. He boosted in desperation.

He rammed the debris field but did not take any damage at least.

Wedge intentionally rammed the fighter in front of him. It kept him out of some of the fire arcs at least.

The Falcon took shots at the damaged fighter to try and eliminate incoming fire power on Wedge, but the pilot was too nimble! (Also I forgot to penalize the Falcon for having a Strain Token, but the results worked out ok in the end. I caught it right afterwards).
Wedge was able to clip the same fighter and put a solid volley into it, destroying it with a satisfying wat wat wat wat.
The fighter next to him struck with vengeance! He took the fire straight to the cockpit. Armored glass splintered and his console lit on fire, it was looking like it was the end for him!

Luke once again saved the day! Throwing his turret into action, he struck and completely destroyed the fighter Wedge was avoiding collision with! (Luke can attack in the End Phase after the ship he is on completely misses).

Round 8

While looking dire for the Empire, imperial victory was not out of the realm of possibility! With Wedge at 33% hull points, on fire, and unable to use his quick reflexes, he was a sitting duck to even cadet pilots! The Falcon was rough as well, but still had some solid hits in it left.
Wedge coasted forward, using a fire extinguisher to put out the flames. The TIEs did their best to sort out the traffic jam. Han took the Falcon into short turn and boosted further to get some angle to stay near Wedge.

Han fired at the TIE threatening Wedge. He scored several hits but it survived!
With Wedge unable to see clearly, the TIE pilot took advantage and fired first! His moment of glory was robbed by some reflexive defense flying from Wedge Antilles!
In turn, Wedge walked the laser fire in manually on the TIE bearing down on him and blew it to smithereens! That left just one TIE Fighter to deal with! Missing Wedge seemed to have been their last fighting chance.

Round 9
This was a particularly uninteresting round. All three ships pulled koiogran turns because they were completely out of whack. The TIE managed to cause an explosion going through the debris field to make matters worse for himself.

Round 10
The TIE pulled forwards, getting the ship’s strain back under control.
The Falcon came up on its flank, shedding its strain and preparing to finish the TIE off! Solo damaged it, but it kept flying!
The TIE took his moment of grace and fired at Wedge, but completely missed!
Wedge in turn was in an unforgiving mood. He blasted the imperial pilot into oblivion! Rebels win by battlefield supremacy, but the game is a tie (teehee) by the 2.0 scoring system. All in all a great game. I had forgotten how slippery the Millenium Falcon could be!