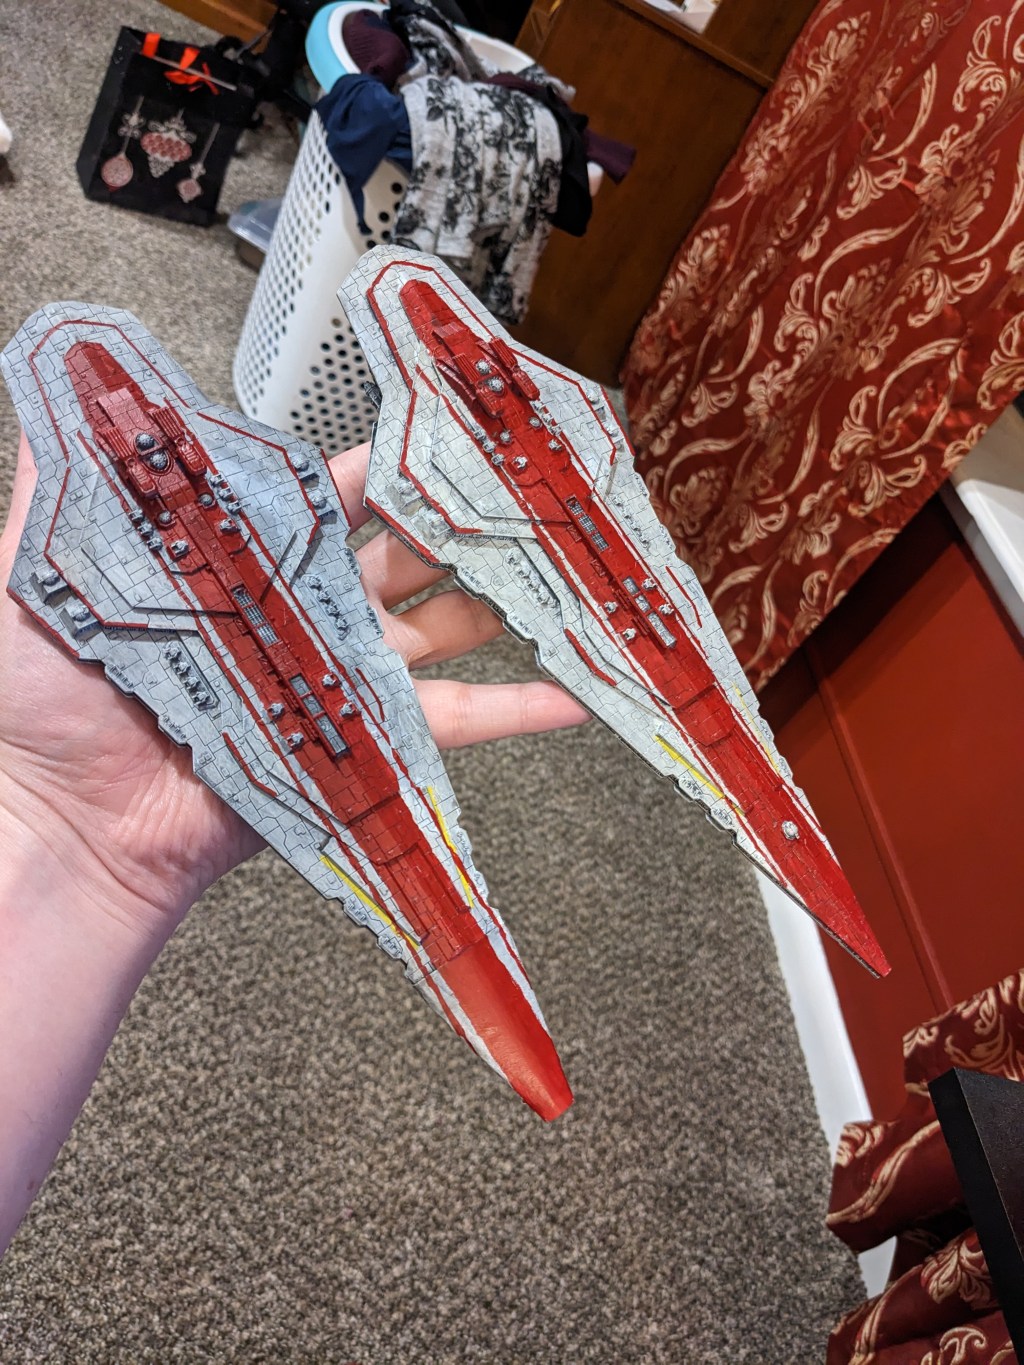
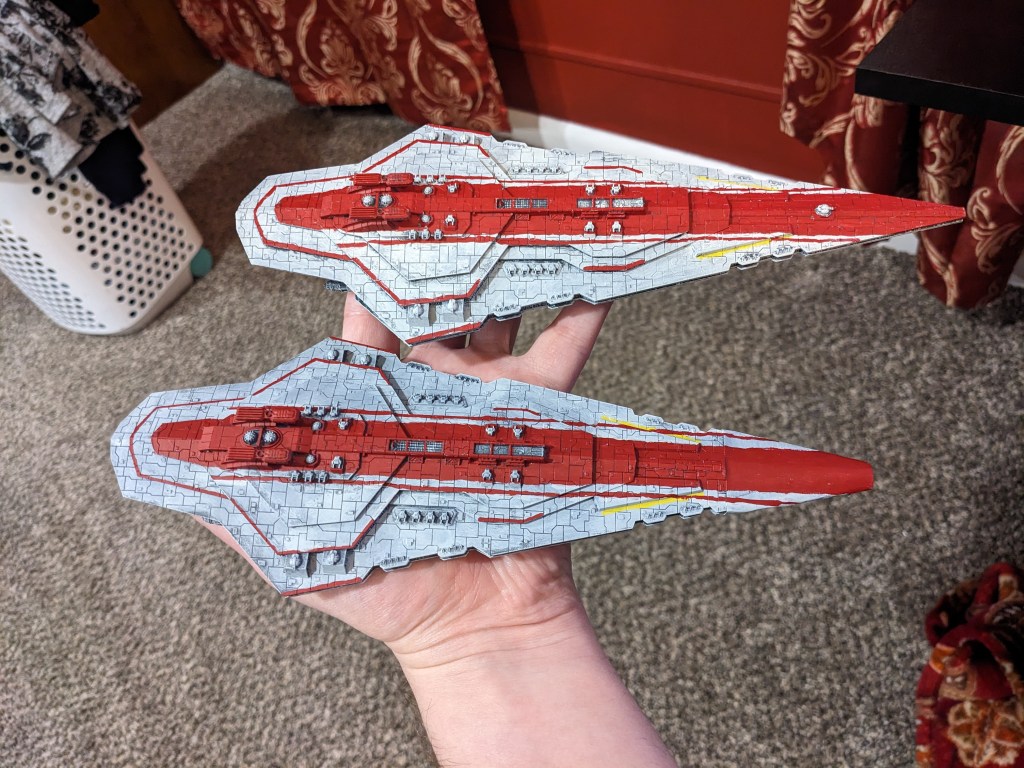
Hey everyone! Sorry it has been a hot minute. Life has been busy and this last tutorial quite large. Today we are doing arguably the most exciting ship of the Republic, the Rothana Battlecruiser!

Now you will notice that one of them has an incorrect prow. The 3d print my friend did failed, but it still looked pretty good so I made one out of hobby sticks and paper. It’s not perfect, but it will do for my personal collection. At some point I will go back and add damage and smoke effects to it to hide it better.
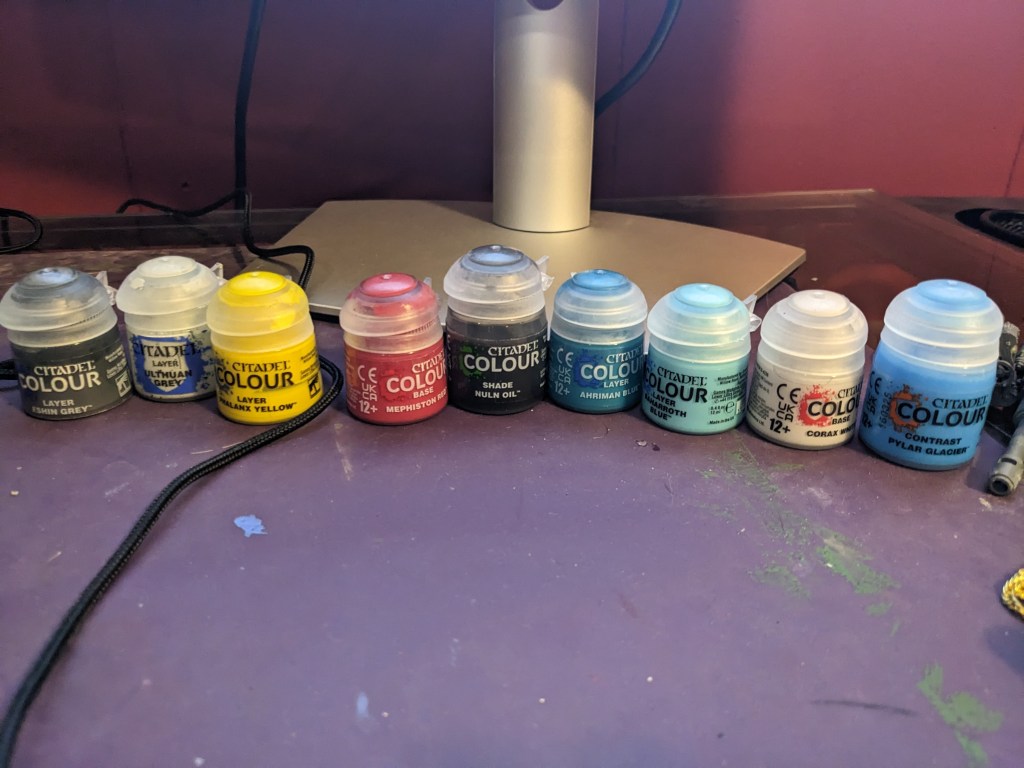
Color wise we will be doing the same as the Rothana Destroyer. I am using Games Workshop paints, not because of sponsorship or promotion, I just simply like them. If you want the recipe I used, its Layer Eshin Grey, Layer Ulthuan Grey, Layer Phalanx Yellow, Base Mephiston Red, Shade Nuln Oil, Layer Ahriman Blue, Layer Baharroth Blue, Base Corax White, and Contrast Pylar Glacier.
First, start by doing the entire ship in Layer Eshin Grey. This makes for a natural shadow look in the panels and helps tune the final colors the way we want.
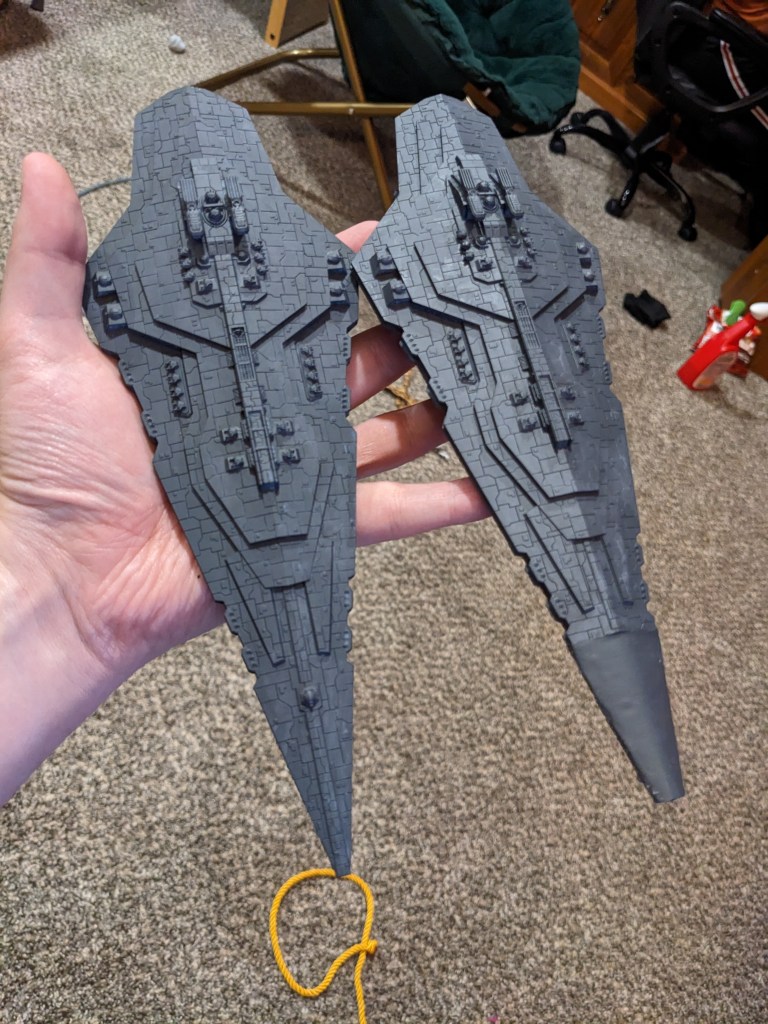
You guessed it. Now we are going to heavily dry brush the entire ship in Layer Ulthuan Grey. I should invest in Ulthuan Grey stocks at this point. I am using it a lot on these Star Wars models.
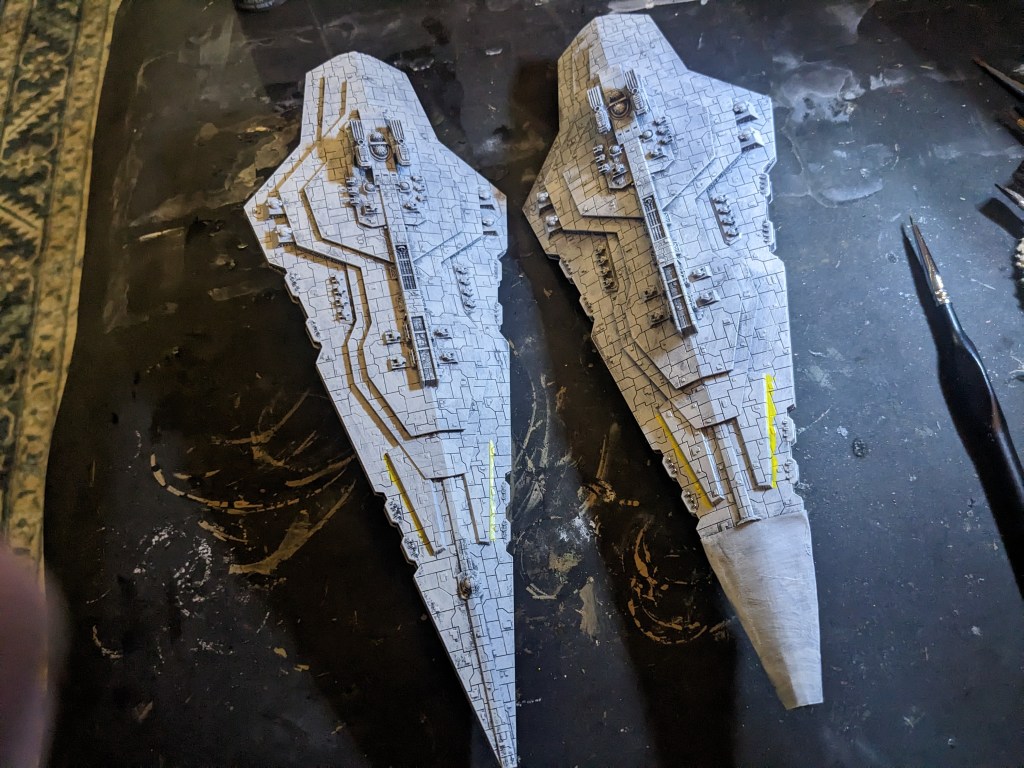
Next, I did what I’m referring to as “the Rothana yellow stripe” that accompanies most of their artwork.
This ship is a complete mess of contradictions in both visual designs, ship layout, and even dimensions, so I just combined several ideas I like. If you go a bit thick with the yellow line that’s okay, we can always clean it up at the end.
Now the red Rothana battle stripe. Once again, there are a ton of variations. The core component is a thick red center, with most designs having a thin red stripe on each side, and some trim as well. I did mine like below, but given the vast artistic licenses used out there, you do whatever seems right to you! I used Base Mephiston Red.
Now, this is a large area to cover. Start small. Just go from the upper deck in the aft to the nose. Don’t worry about straight lines just yet, but it is good practice for what is to come.
Slow work your way out. Try to not drown the panel lines in paint. Work your way around the bridges, under it, and around the gun emplacements. Slowly widen it until you achieve the width desired.
Next, find a visual and do your red lines. Alternatively, you could try taping it. Just make sure that red paint is absolutely dry! I free handed mine because I abhor getting the tape straight.
Lastly, do some trim. I did the aft middle hull section, the upper hull aft sides, and a middle portion.
Now wash the whole thing in Nuln Oil! Start on the bottom to dial in how dark you want it to be. Remember, it will dry slightly darker than it looks when first applied. We just want to lightly tint the grey and fill in panel lines. If you paint pot is getting low and more dense, put water on your brush to help dilute it.
Lastly, engine flares! We are going to do the classic white blue seen on many ships in the universe. We start with Layer Ahriman Blue. Fill in the engine cavity. You will notice that several of them are drain holes for the resin, so just fill in the sides on those.
Next paint Layer Baharroth Blue in the cavities, leaving just a bit of Ahriman on the outer edge.
We will then dab Base Corax White into the center of the engines (or inner most walls if it is a drain hole like the big one in the middle). This will help give it a white hot center.
Lastly, put a generous layer of Contrast Pylar Glacier in each cavity, covering all blue and white colors. This can be a thin Contrast, so you may need two coats. Mine is starting to get low enough that it is thicker and no longer needs that. If you do want more coats, let it dry a few minutes in between each layer. It is much wetter than the other paints, so it takes a bit longer.

How did you do? Don’t let the red battle paint discourage you. Chip away at it a little at a time if you have too.

Leave a comment