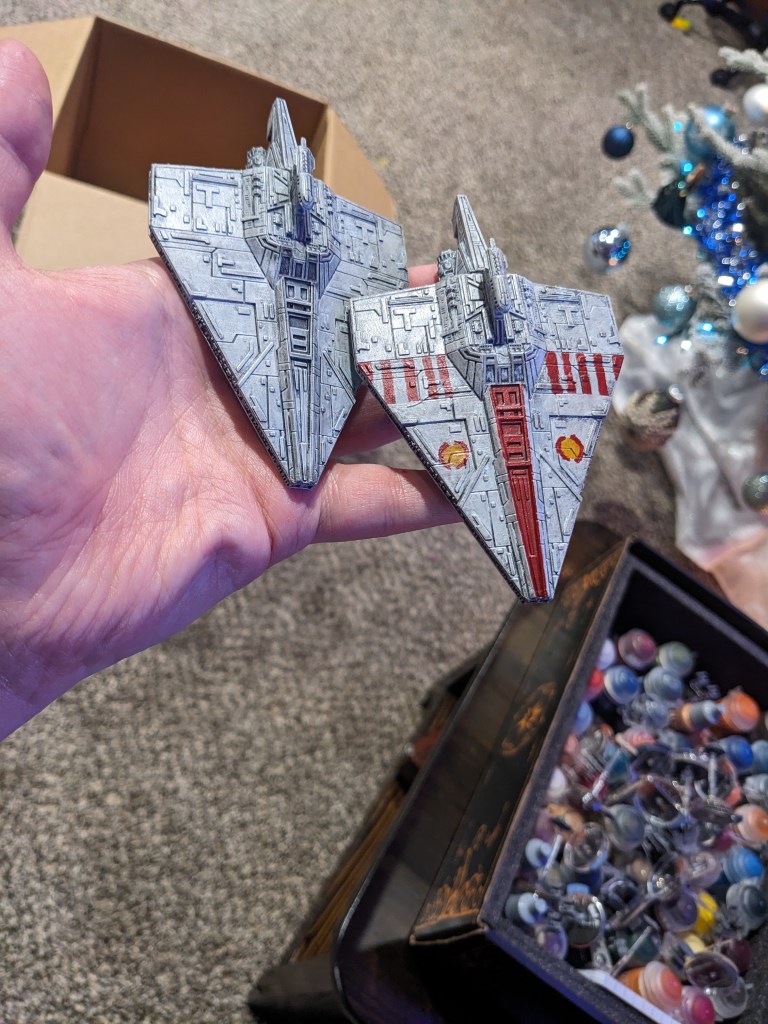
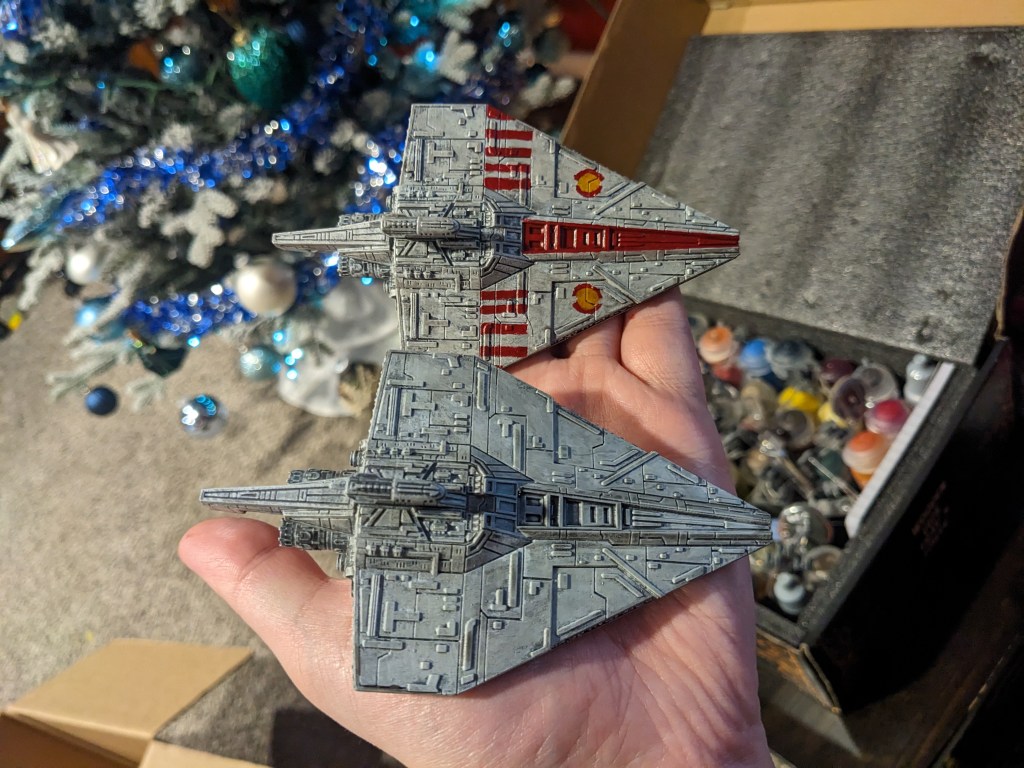
Hello everyone! Today we tackle another 3d printed set of ships. We will be doing two schemes today. The first is the Acclamator as seen in Attack of the Clones or its Imperial counterpart in the aftermath. The second will be in the Republic battle colors as seen later in the Clone Wars.
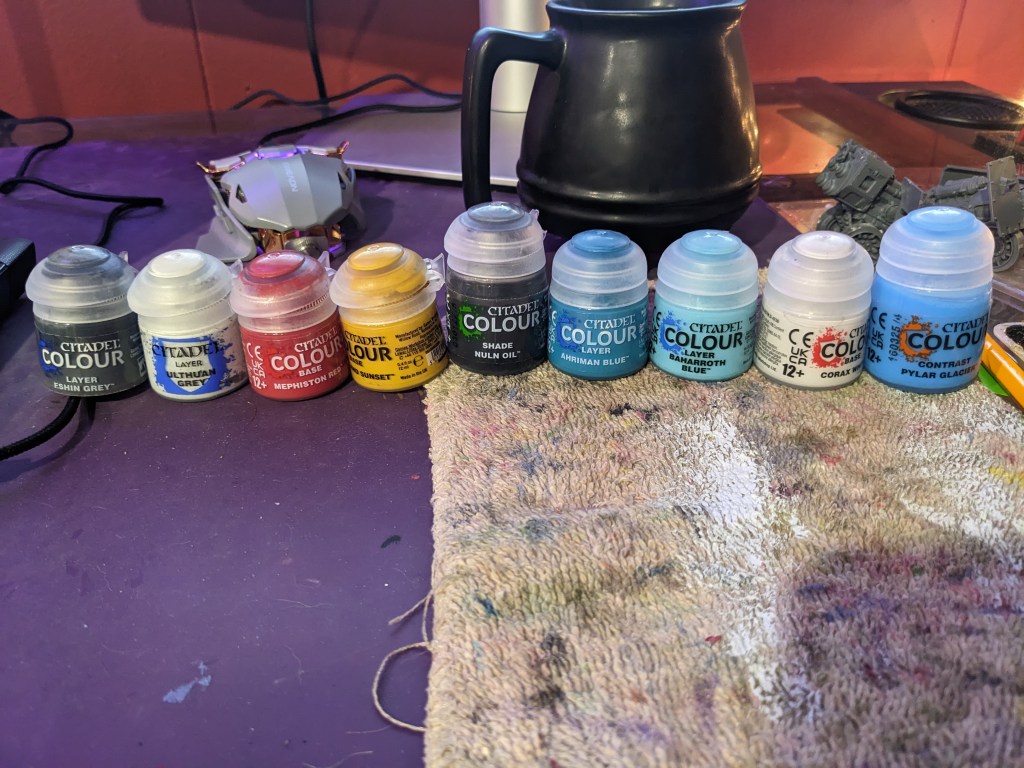
Today I will be using Games Workshop paints. This is not a sponsorship or promotion, I just like the paints. I used Layer Eshin Grey, Layer Ulthuan Grey, Base Mephiston Red, Base Averland Sunset, Shade Nuln Oil, Layer Ahirman Blue, Layer Bahharoth Blue, Base Corax White, and Contrast Pylar Glacier.
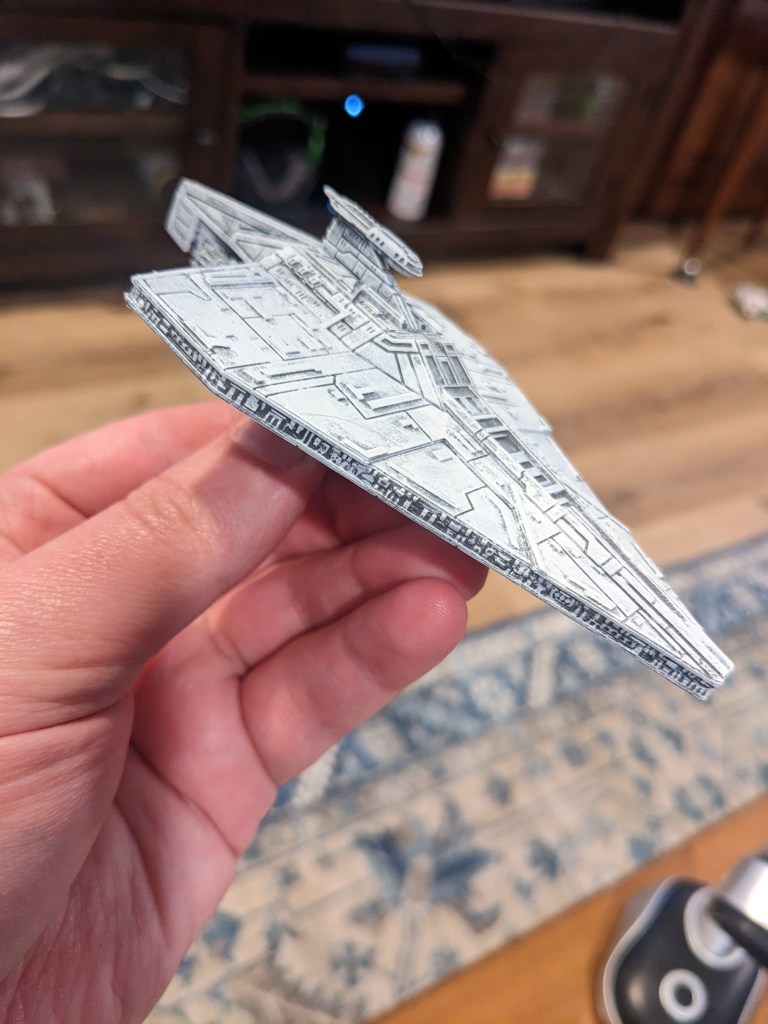
We are going to start by doing both versions with a base coat of Layer Eshin Grey. This will help the highly detailed ship look good for the next step.
Next we are going to heavily dry brush both ships with Layer Ulthuan Grey. Dry brushing is a technique where we get paint on the brush, wipe the excess off, and then drag it over the ship. It will only get paint on the elevated parts and edges, helping those details pop nicely. I recommend a large brush for this to cover ground effectively. Keep applying until you reach your desired coverage.
*Note, a lot of artwork depicts them using a medium grey instead of light grey. This is not screen accurate, but if you want this look, I recommend using Layer Dawnstone instead of Eshin Grey.
At this point, if you are doing the AotC or Imperial theme, set it aside or skip ahead to the wash step.
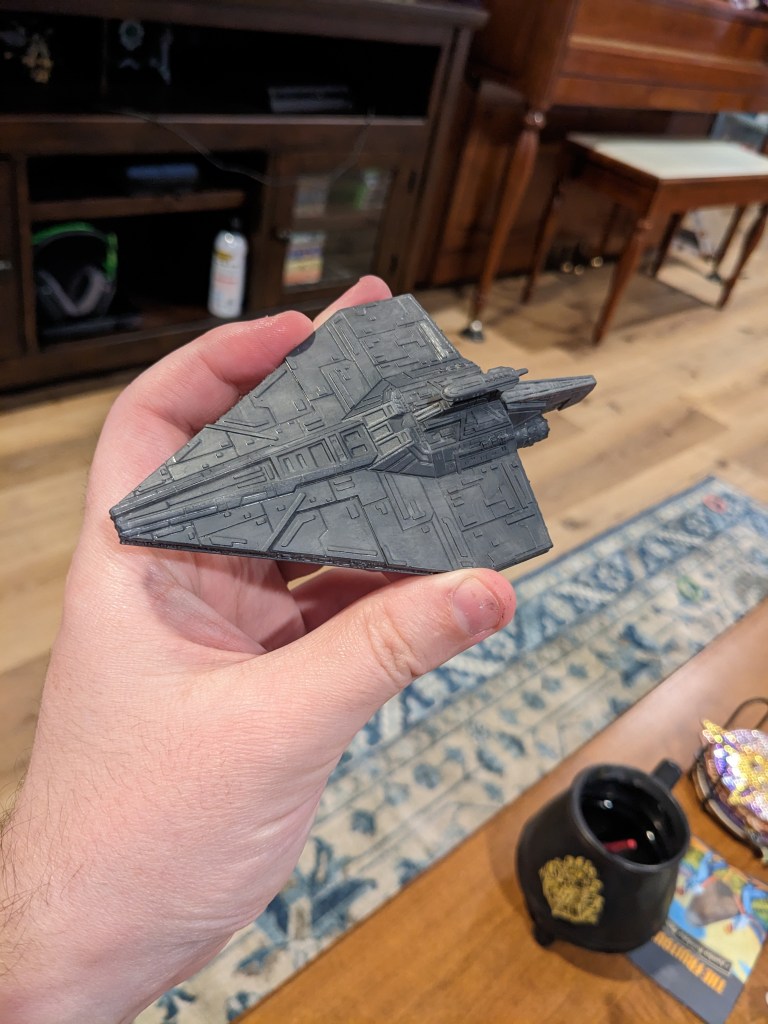
I just wanted to show of the details on this model. I don’t know who designed the print, I got them from my vendor, but whoever it was did an excellent job!


For the Republic battle colors, we are going to start by doing the circles with Base Averland Sunset. Making perfect circles is really hard, but we get to cheat with these, so they do not have to be exact at the moment.
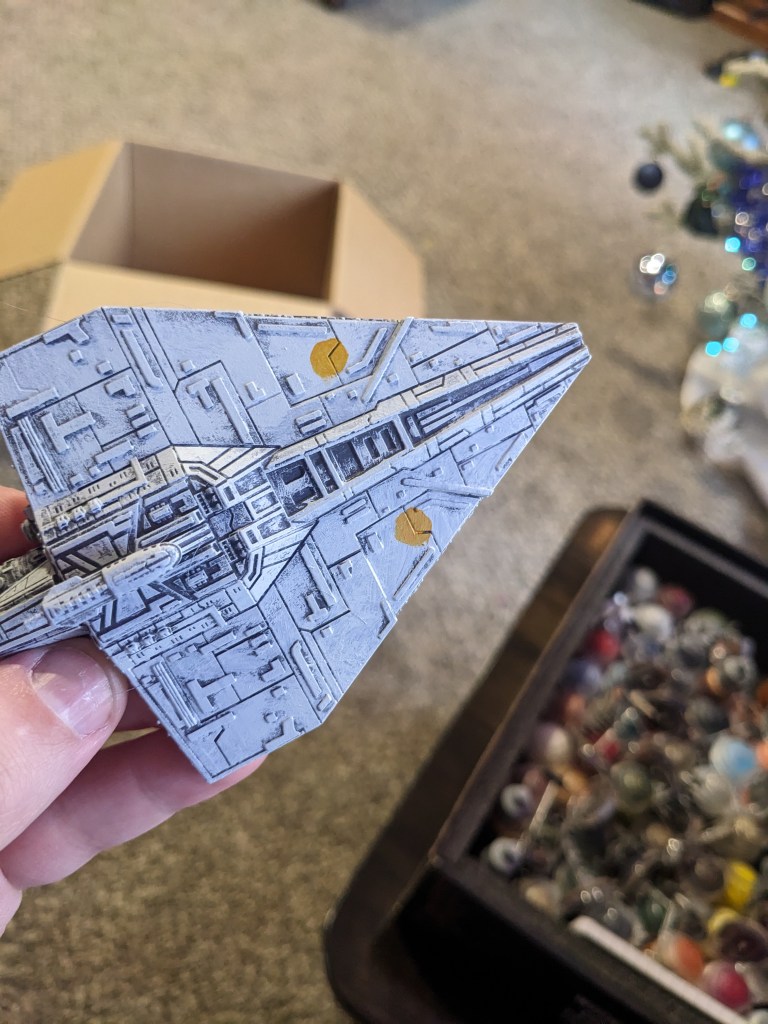
Next we are going to apply Base Mephiston Red to the central hull, around the orange circles, and the five battle stripes on the wings. As you can see, my first attempt was absolutely terrible! This is to be expected for your first few tries, maybe even more! This is just part of the learning curve and can easily be fixed so long as you keep your layers then and not so heavy they fill in the ship detail.
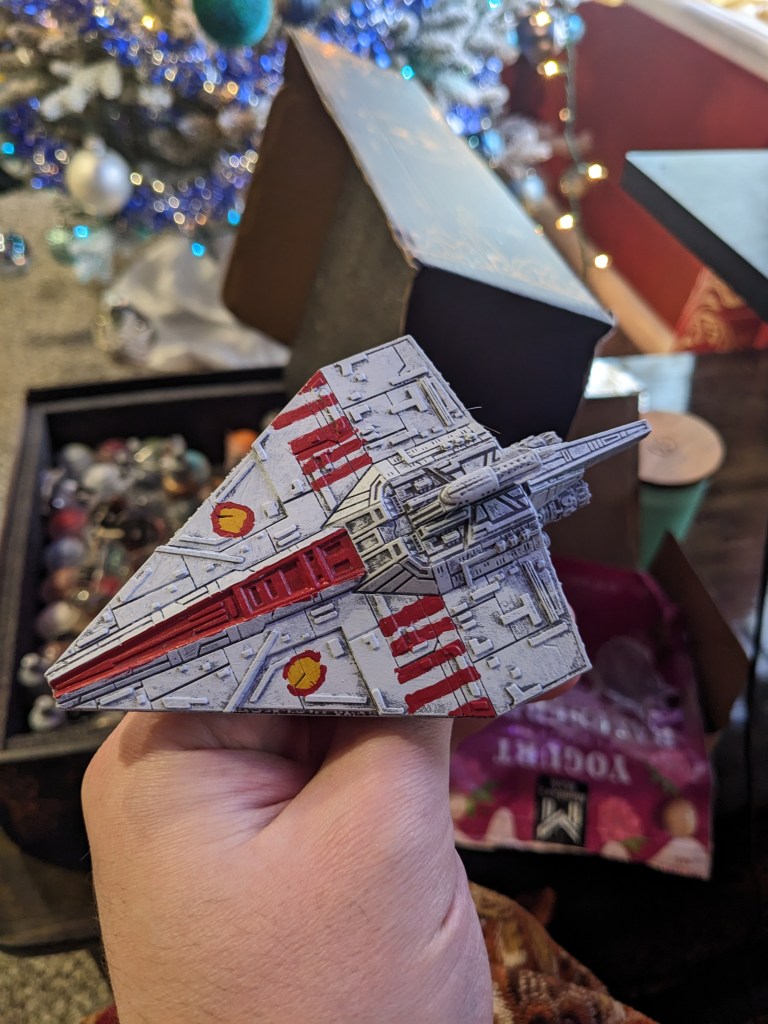
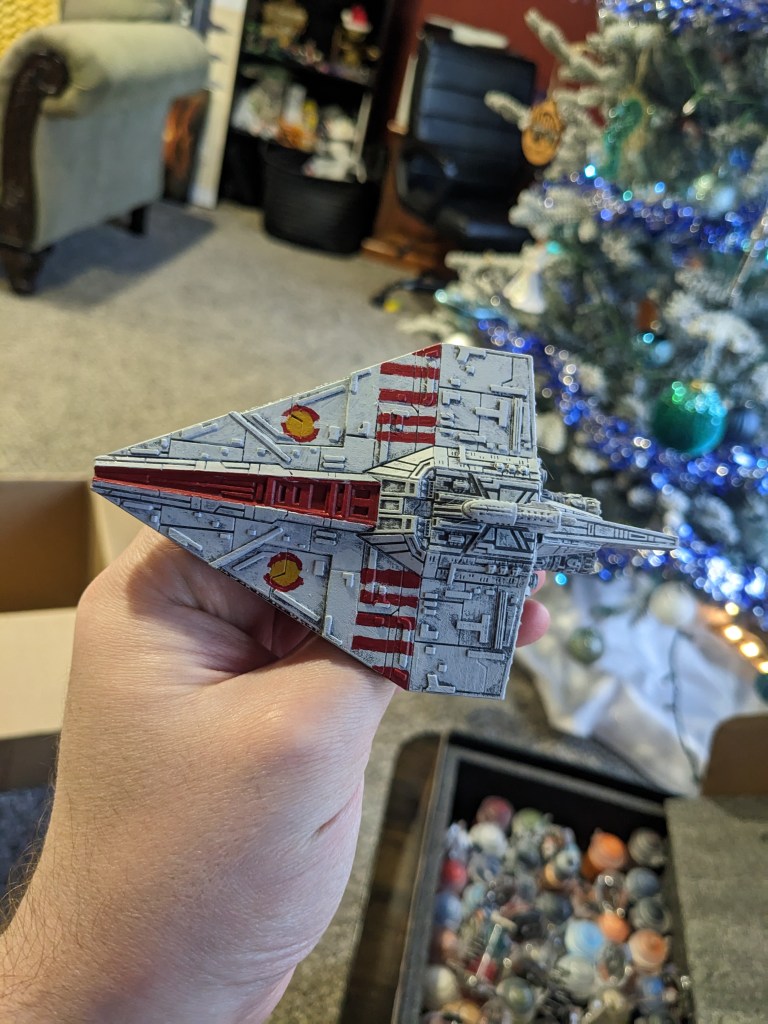
After some correction and going back and forth with the colors used so far, it’s looking better. My stripe spacing is still off, but it’s a lot better than it was. On the orange circles, there is a small gap in the red on the front and back of the circles. I found it is easier to just paint them complete, work the orange and red back and forth to get it fairly even, and then use the light grey to make the gap in the red.
Free handing detail work can be really challenging. If you are getting discouraged, go wash your brushes and come back. Look at it from about three feet away. If you can’t really tell there is an issue, your opponents won’t be able to either. Practice makes perfect!
Next, we are going to apply Shad Nuln Oil to the entire ship. Start on the bottom to ensure yours is not too thick or dark. Thin it out with water if needed. We want to tone the colors slightly to make them screen accurate.
For the engine flare, we want to start with Layer Ahirman Blue. Paint the whole inside of the engine, including the cowling.
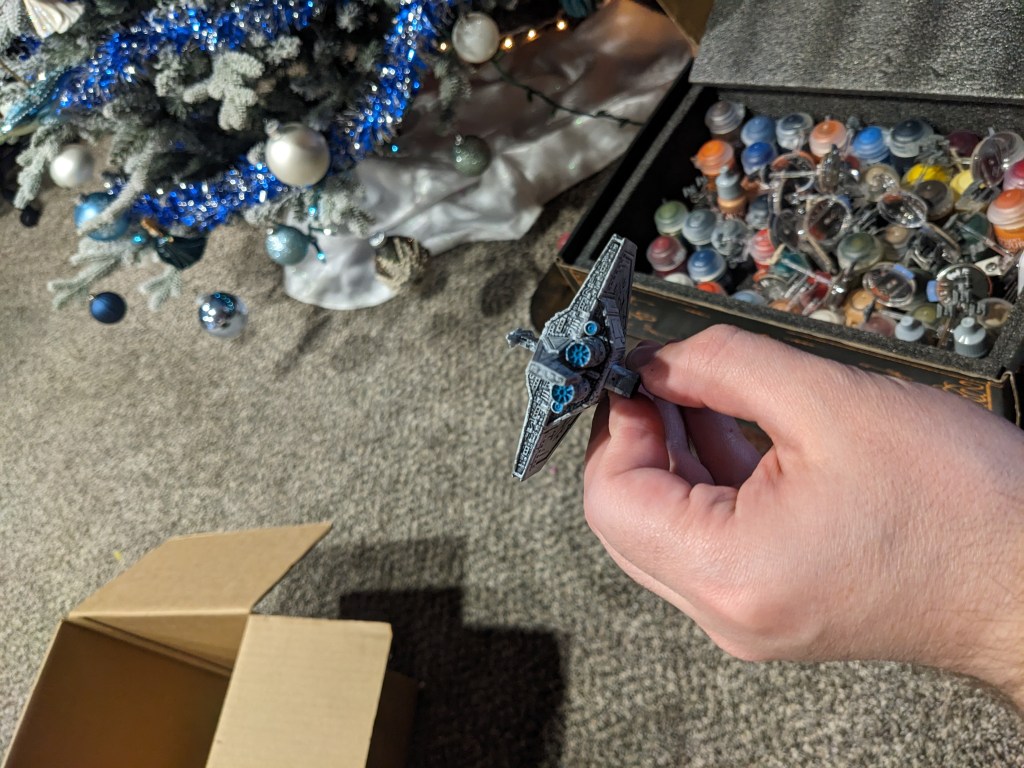
What we want to do is then use Layer Baharroth Blue to paint just the iconic engine detail and the crevices in between it, leaving the surrounding area a darker blue.

We want those engines to look intense, so use Base Corax White in the gaps only to show a white hot flare amongst the structure.
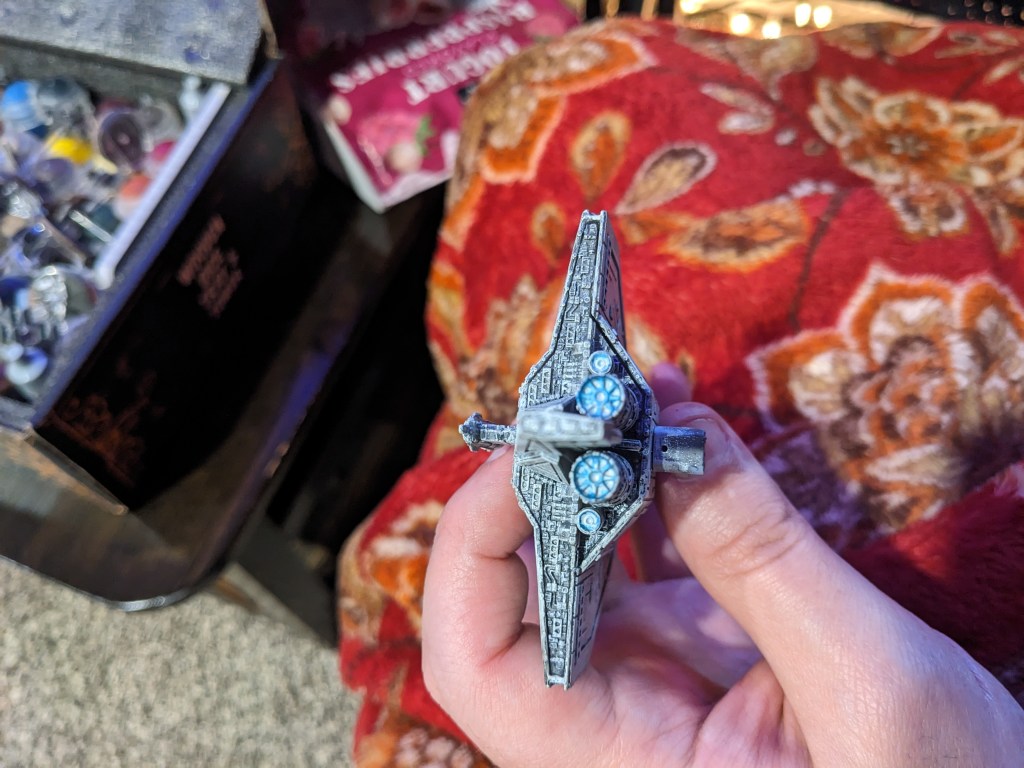
Lastly, we want to use Contrast Pylar Glacier to tone the white down and blend the colors together better. Paint the entire inside of the engine. If you don’t get it all in one coat, feel free to use another after the first dries. It is a thin paint and sometimes takes an extra layer or two.

Ater a few layers, you should have a nice bright blue hue. My camera struggled to get a good picture of it, but it should look brighter deeper down into the engines. For whatever reason, my camera was really color correcting this shade of blue.
Lastly, I forgot to take a picture, but you can do the bridge window in Base Corax White as well. If you are really crazy, you can use a white wash to light up all of the tiny windows. Expect to do a lot of color correcting and clean up if you do so.
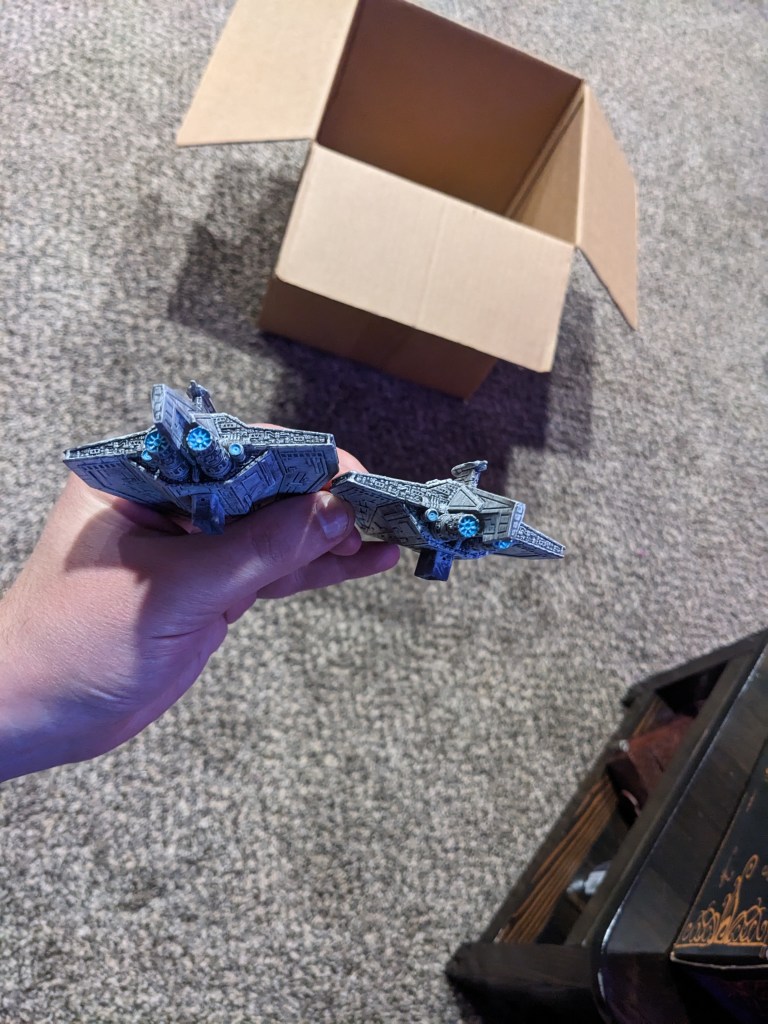
How did you do? If you ever feel the need to, you could get at least one other attempt to redo the ships by priming light grey to mask the red stripes and try again.

Leave a comment