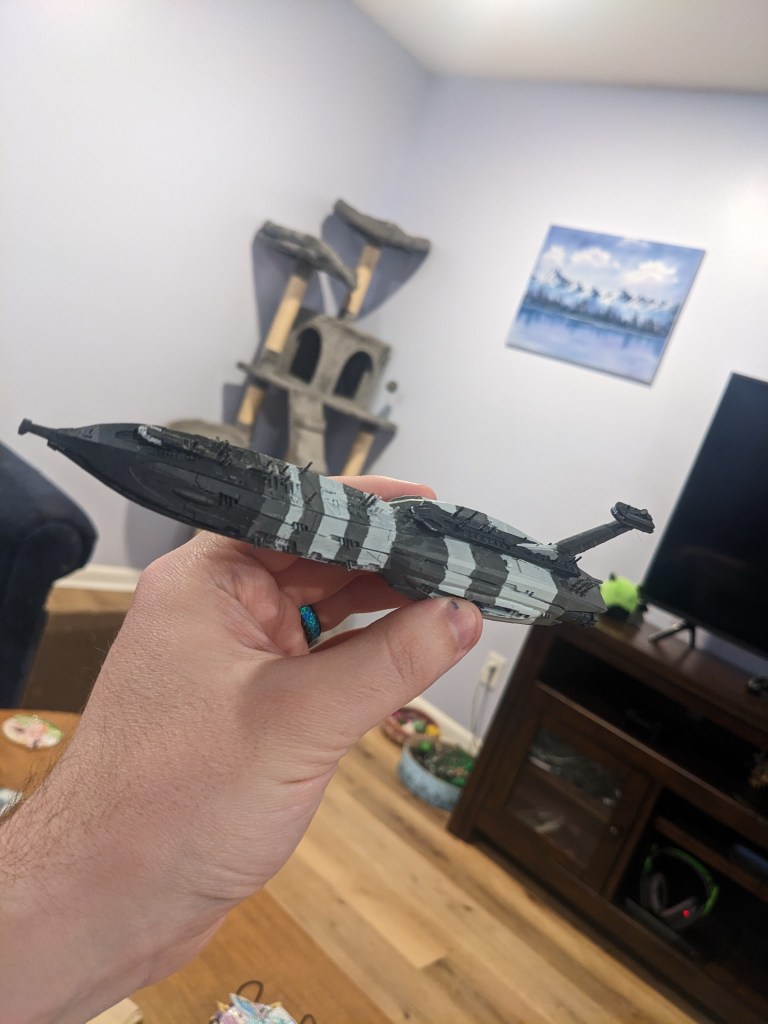
There are several Providence class ships out there (ranging in classification from Dreadnought, to Cruiser, to Carrier. I don’t think writers collaborated well on this), but the most infamous of them all is the Invisible Hand.
Naturally, as the Star Wars universe goes, the paint schemes are not exact between the two clone wars shows and Revenge of the Sith. I decided to go RotS scheme for this one, and as it is such a unique scheme it warranted its own tutorial.
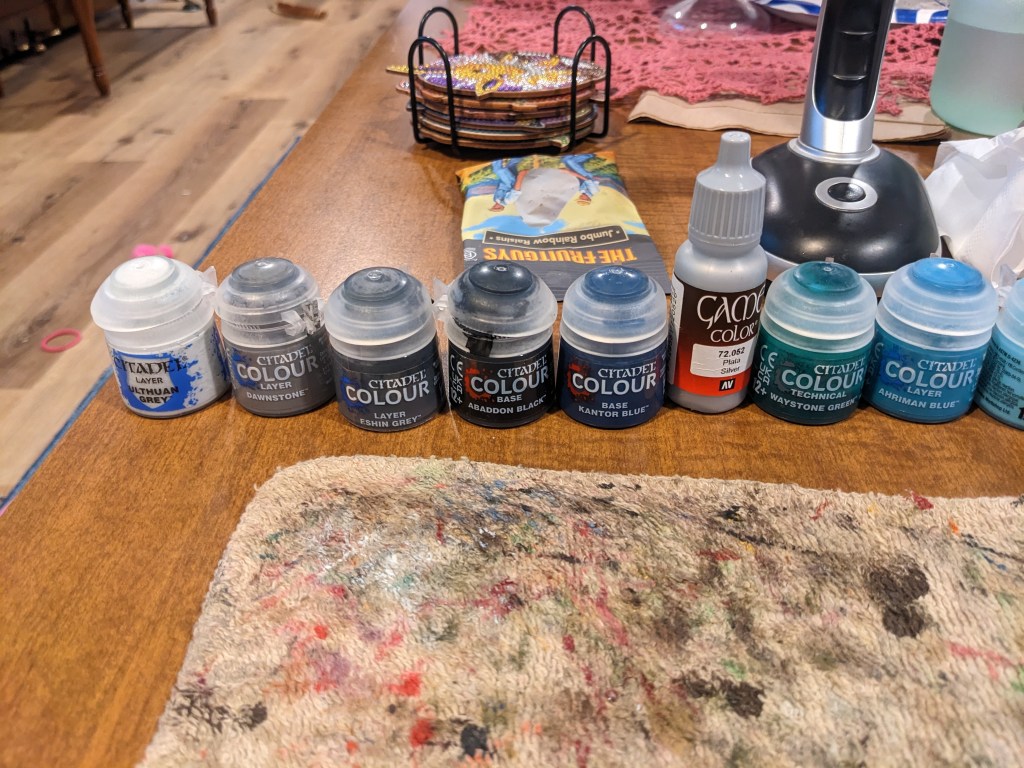
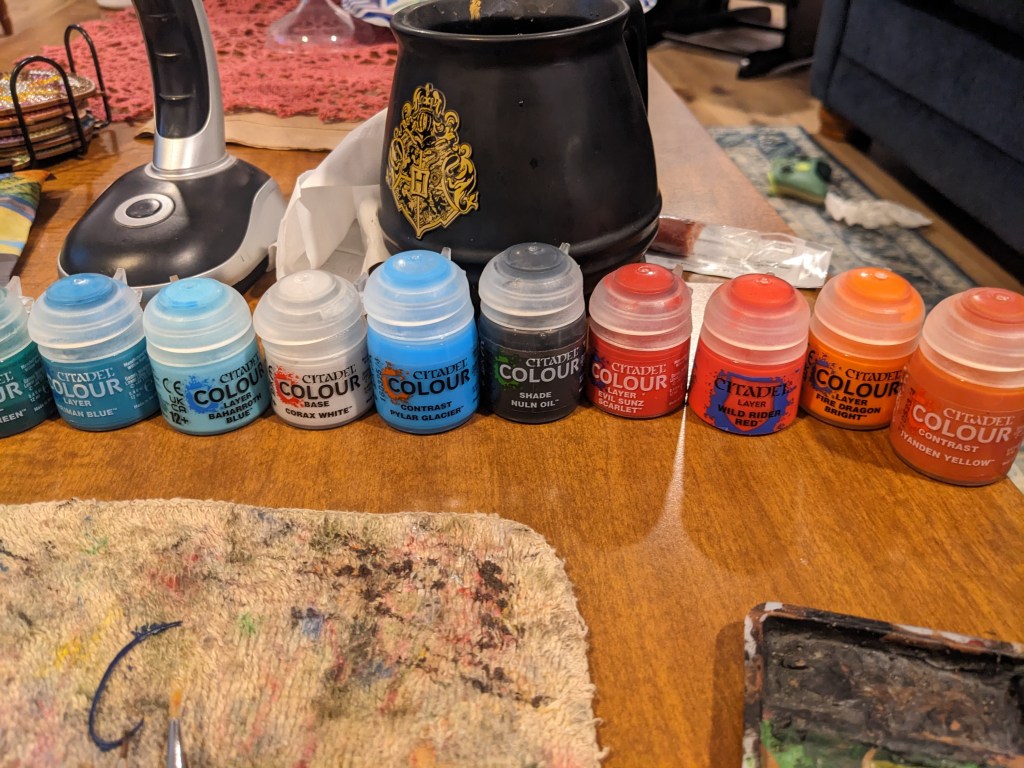
We are using quite a few paints today. I personally prefer Games Workshop paints. This is not a promotion or sponsorship. I just like them. We will be using Layer Ulthuan Grey, Layer Dawnstone, Layer Eshin Grey, Base Abaddon Black, Base Kantor Blue, Game Color Silver (not Games Workshop), Technical Waystone Green, Layer Ahirman Blue, Layer Baharroth Blue, Base Corax White, Contrast Pylar Glacier, Shade Nuln Oil, Layer Evil Sunz Scarlet, Layer Wild Rider Red, Layer Fire Dragon Bright, and Contrast Iyanden Yellow.
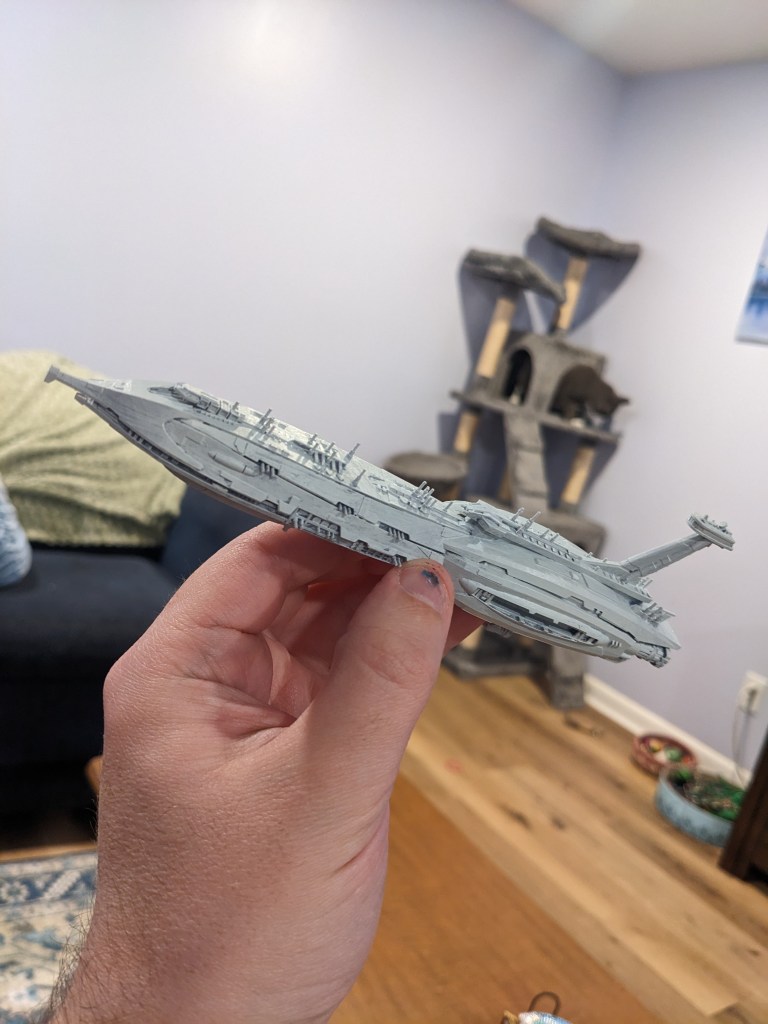
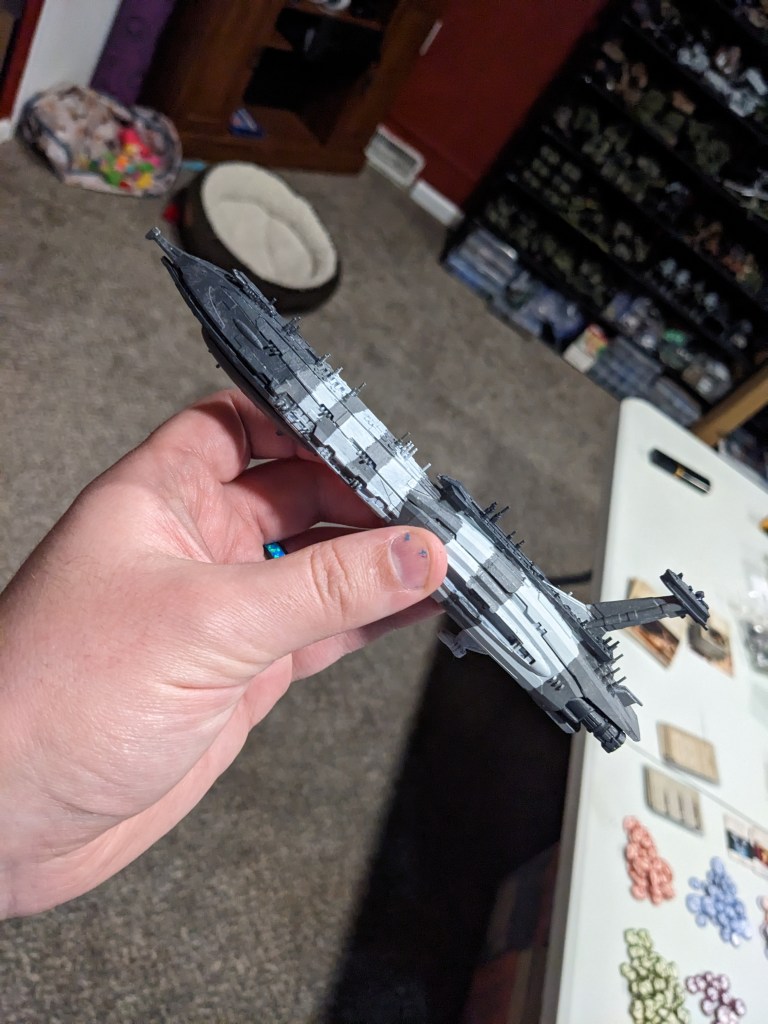
Today we are painting a 3d printed Providence Class. The detail on this model is exceptional, and I am very excited to try this out!
We are going to start with base coating the ship in Layer Ulthuan Grey. You may be getting tired of these tutorials starting with Layer Ulthuan Grey, but it is the perfect shade for most Star Wars base coloring.
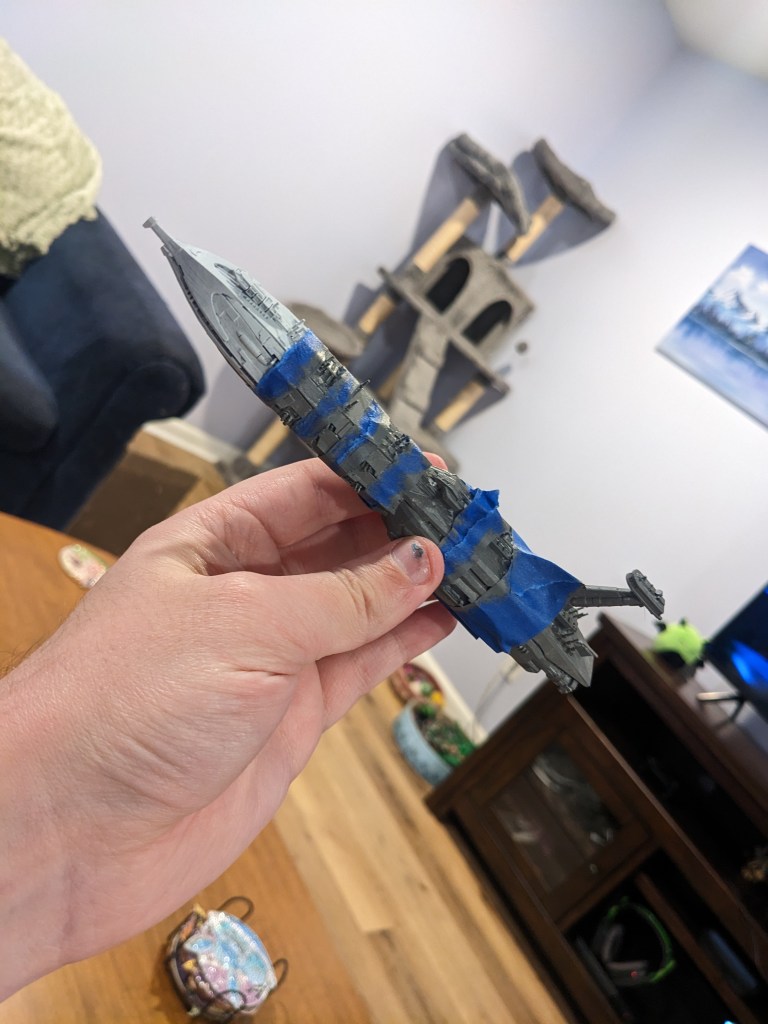
Next we are going to tape off the grey lines that Grevious’s flagship has. Just for the record, I hate taping. Its annoying and can be hard to keep symmetrical. In addition, it is hard to tape for narrow lines. What I did was use the straight edge, peeled it off one side and then did the same with the other to get the tape more narrow. The shape of the ship made it imperfect, but it at least gets us on the right path. Be mindful you don’t break any of the gun barrels off
Paint these lines Layer Dawnstone. The aft of the ship, most of the conning tower, and bridge will also be done in this color.
It didn’t come out perfect, but well enough for us to do some cleanup on it. Taping takes a lot of practice with models like this, so don’t get too frustrated. Just do the best you can and touch it up afterwards.

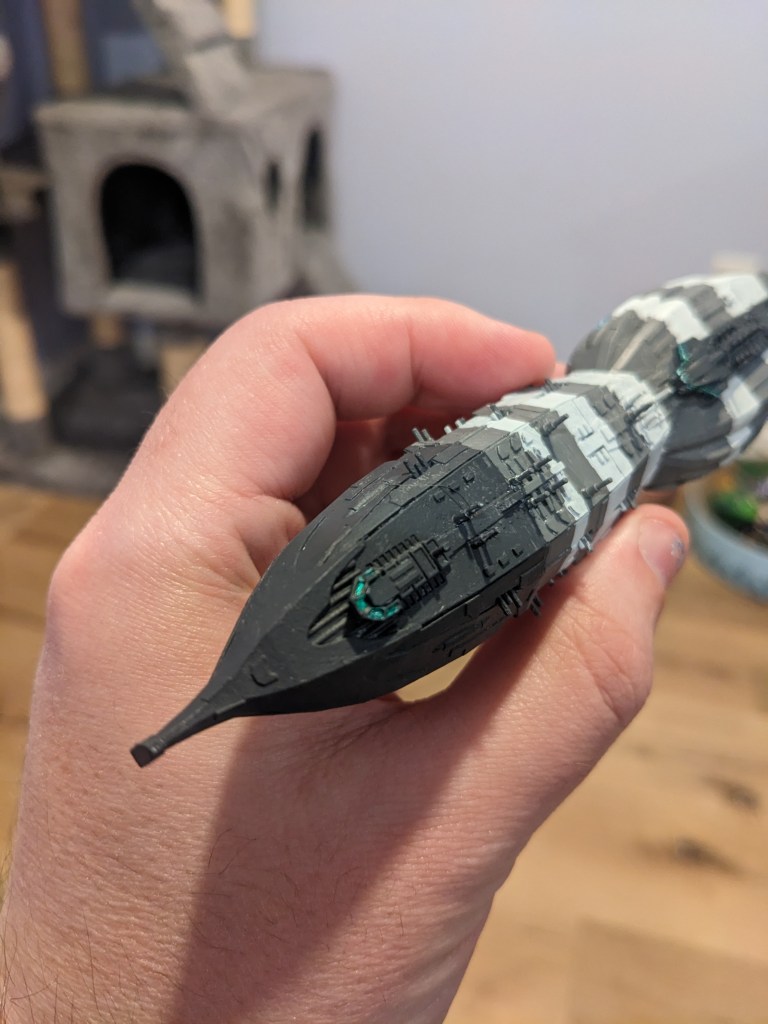
Next we are going to do the nose, engines, upper deck just above the hull, and bridge in Layer Eshin Grey. In the animated series, the nose is light grey and the engines silver if you prefer that scheme.
Next we will do silver on the windows. The reason for this is Games Workshop has a fantastic Technical paint we are going to use next and it requires a bright silver to be underneath it. If you do not go this route, the movies use a medium green window and in the animated series they are bright green. Windows that should be affected are on the fore of the ship, the front of the upper deck just above the hull, and the bridge itself.
Next we use Technical Waystone Green on the silver. It will take a bit to dry and show its end color, but if it is not dark enough for you after that, just apply additional layers with a minute or two in between them.
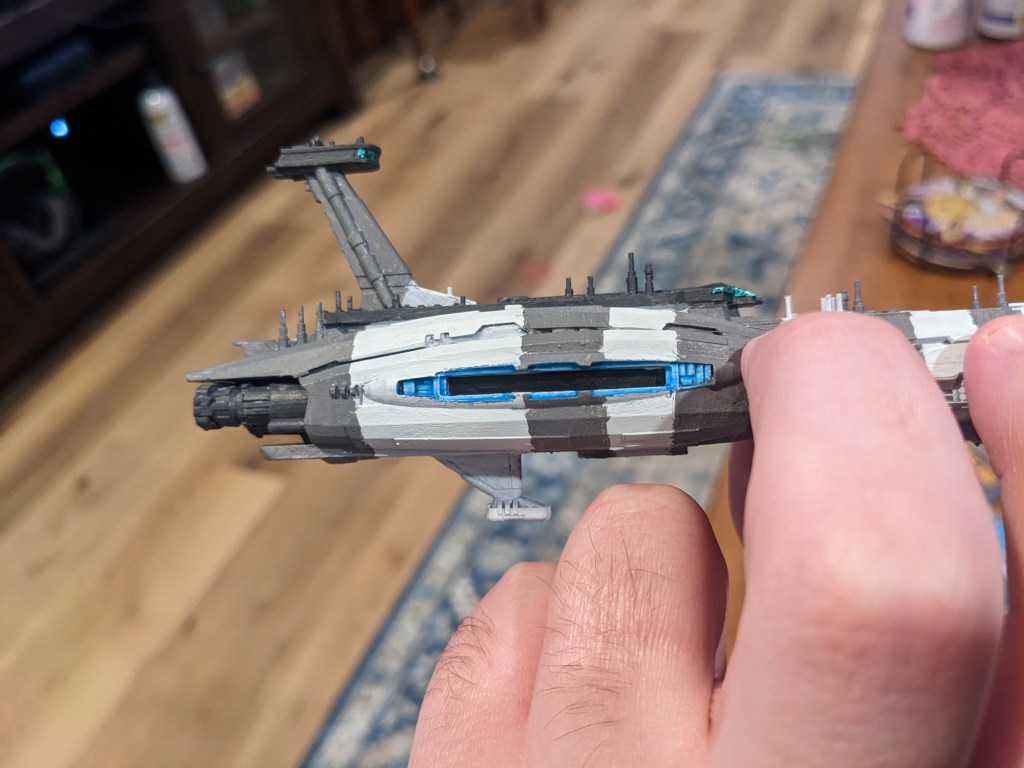
Next we are going to do the forcefield for the hanger bays. Start with Layer Ahirman Blue and paint the inner rim of the bay. Next, paint Layer Baharroth Blue on just the edges and crevice. Then highlight the hard edges in Base Corax White,. Lastly, blend the blue and white paints but putting a layer of Contrast Pylar Glacier on top. It may take several layers, but allow each one to dry before putting the next one on. This color is pretty thin.
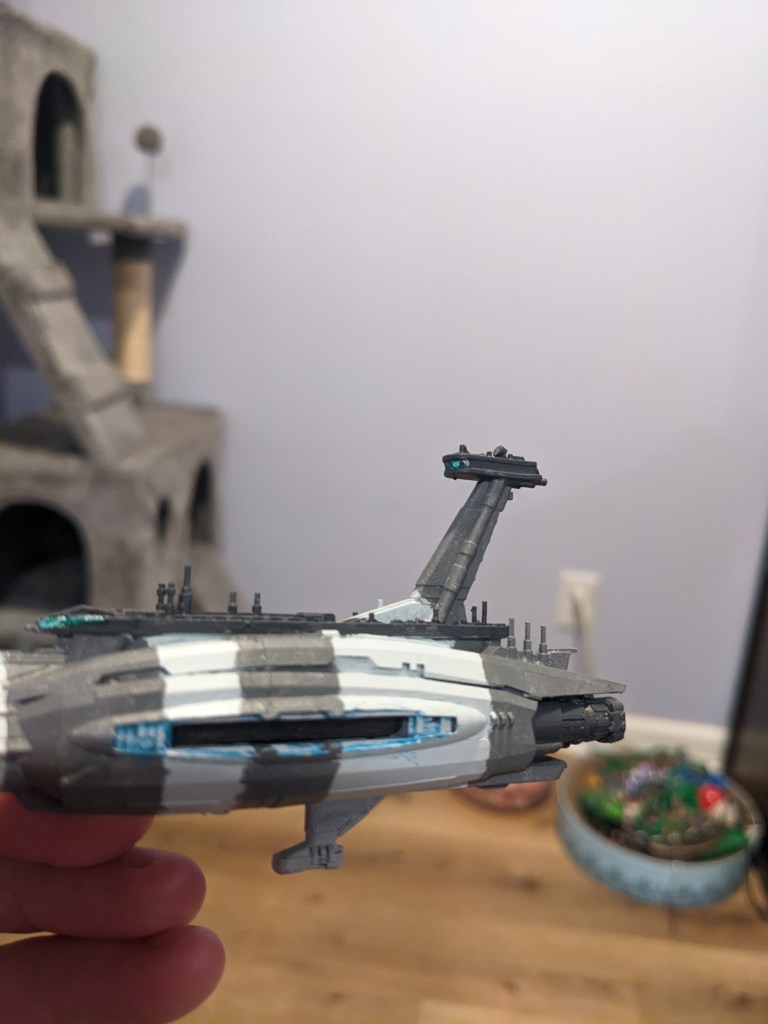

Lastly of course, touch up the edges where it over shot if any.
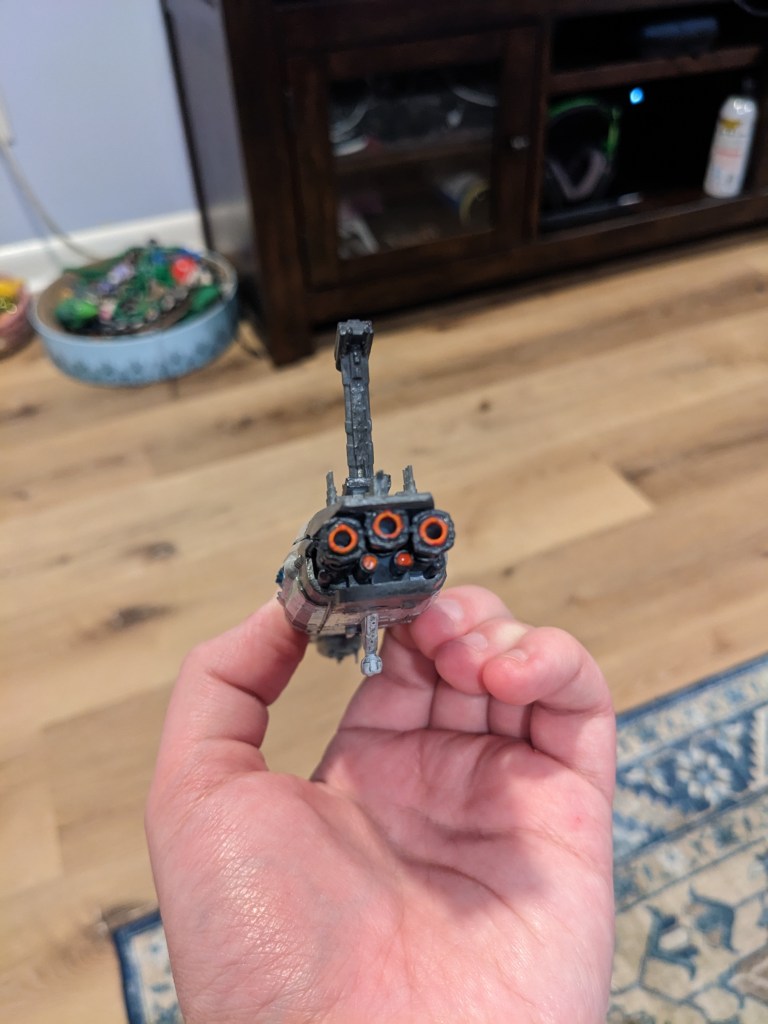
Almost there! Next is engines. The Providence has a nice deep orange glow, so we are going to build it up as well. Starting with Layer Evil Sunz Scarlet, paint the rims and inner engine parts. Next, Layer Wild Rider Red will be applied to help it pop a bit. Just do the rims and centers with this color. Layer Fire Dragon Bright will be applied on just the hard edges and centers. Lastly, Contrast Iyanden Yellow will be used to blend the colors together nicely!
Almost there! We are going to do some blue lines with Base Kantor Blue. These were too small for me to tape effectively, so I picked a good brush that was not fraying out at all and carefully did these by hand. If the edges are a tad wobbly that’s fine. Grevious’s flagship has some worn paint on the stripes from battle damage.
After that, apply Shad Nuln Oil lightly on the whole ship except for windows and glow effects. If you paint pot is getting low, it is probably really thick and dark now. Water it down and experiment in hard to see places until you get it to desired consistency. Nuln Oil will tint the colors to be the final colors we are looking for and help tiny details show better.
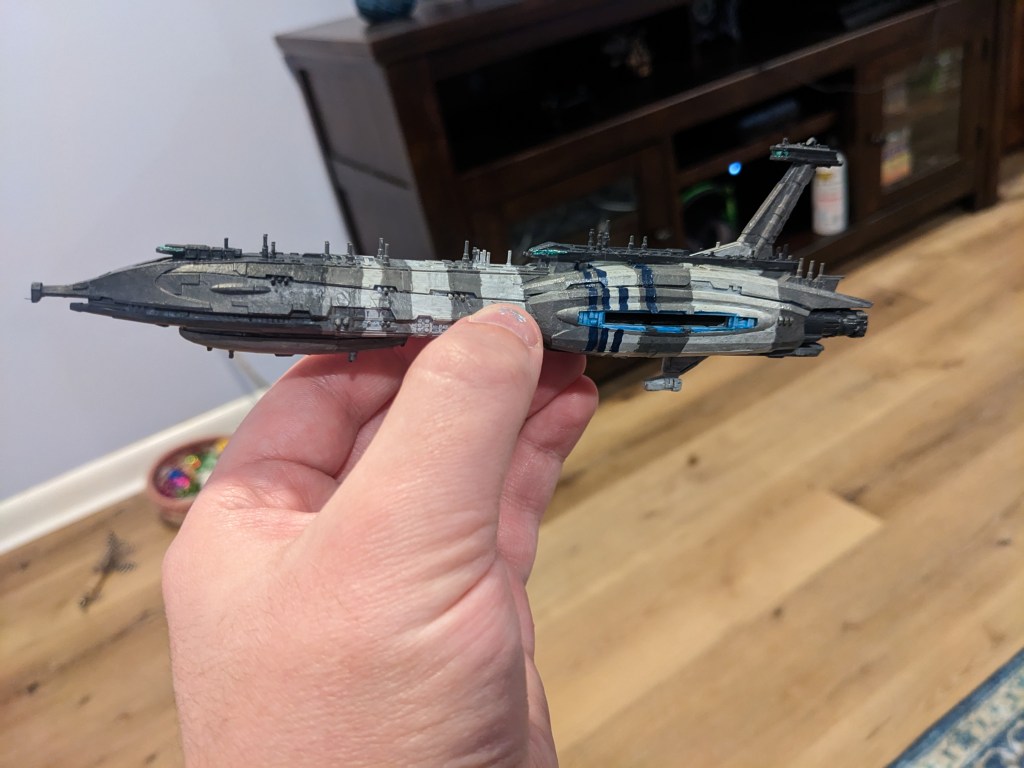
How did you do? This is not the easiest ship to paint by any means, but hopefully with some guidance you have been able to achieve this look yourself. Remember, if it looks bad to you, step away to clean you brushes and then look at it from three feet away. Odds are your opponents won’t notice any defects you are hyper fixated on!

Leave a comment