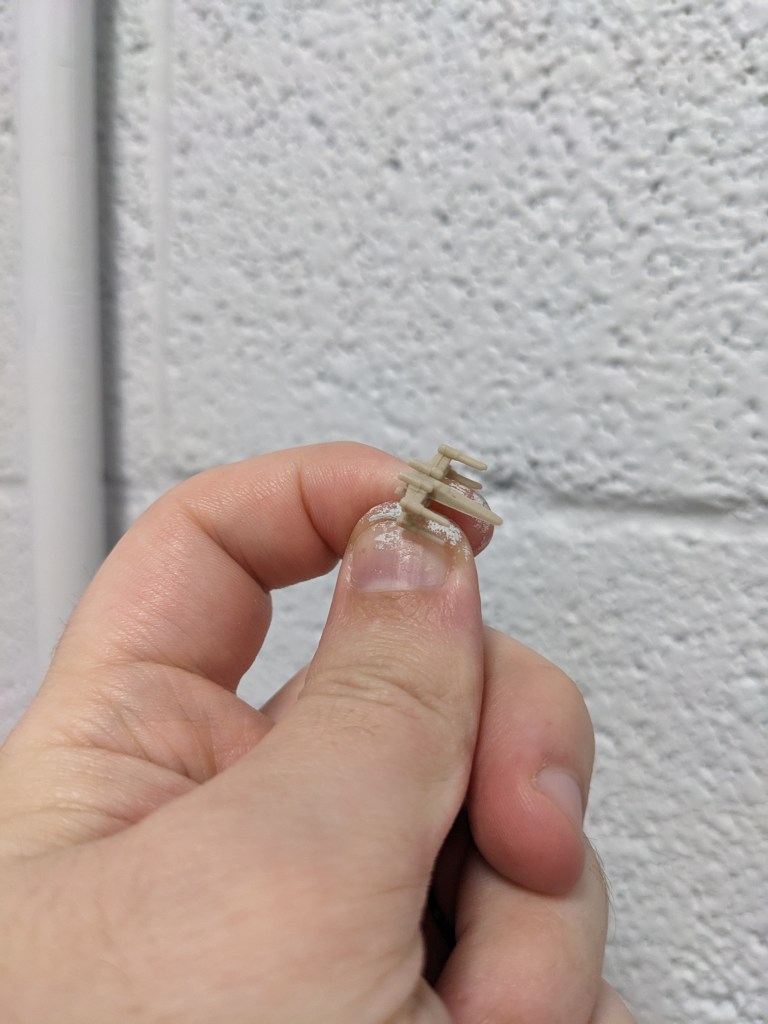
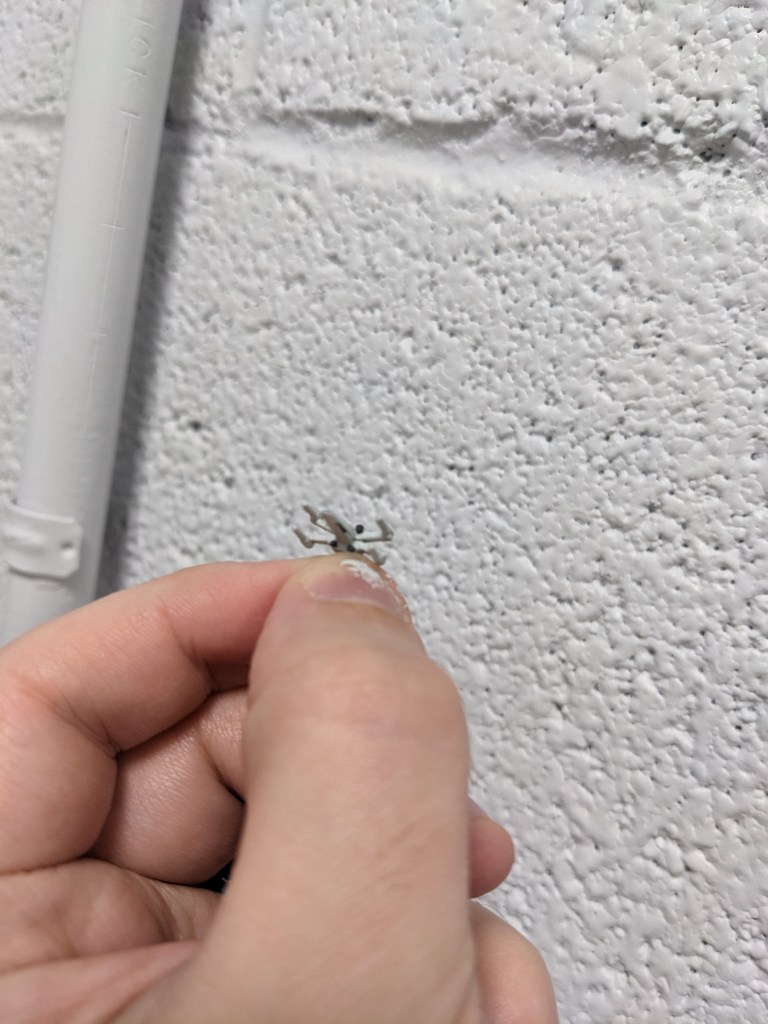
Hello again everyone! Today we are doing the iconic rebel X Wing fighter. Grabbing at random from my pile of shame, this has been one I’ve really been looking forward to.
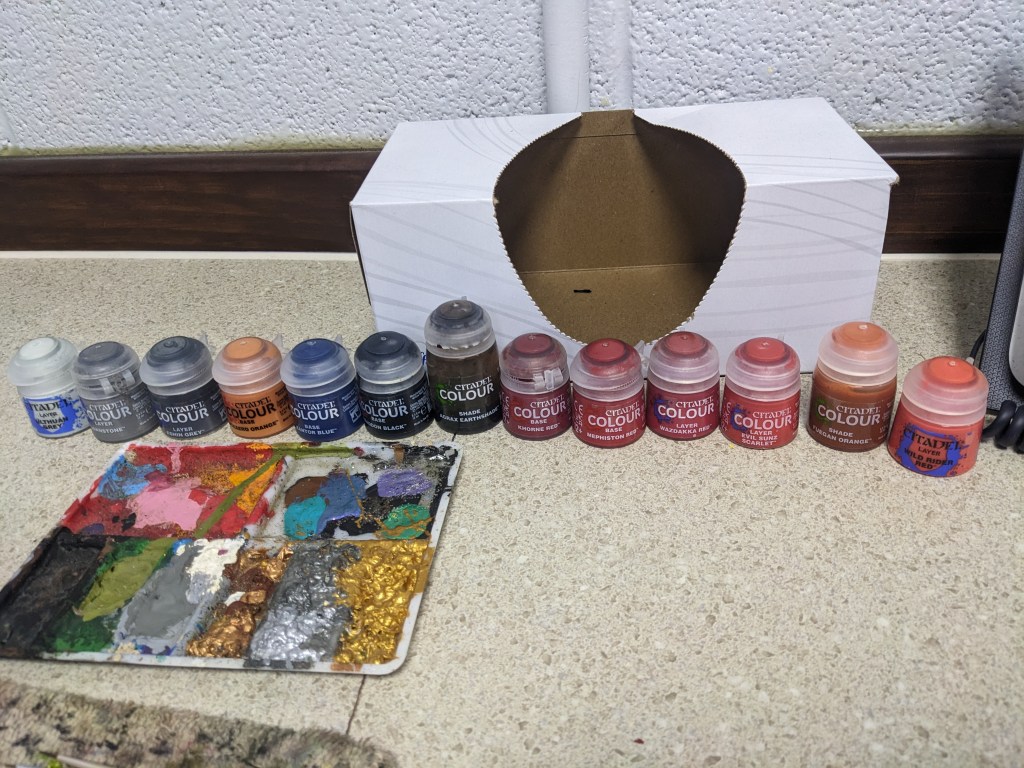
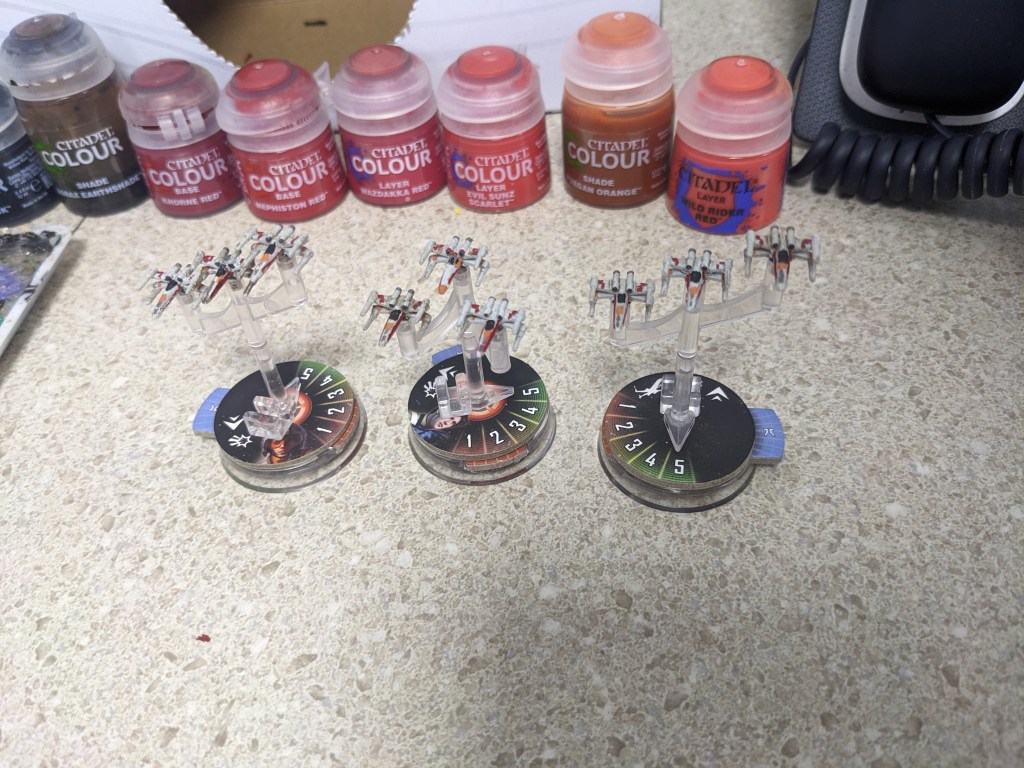
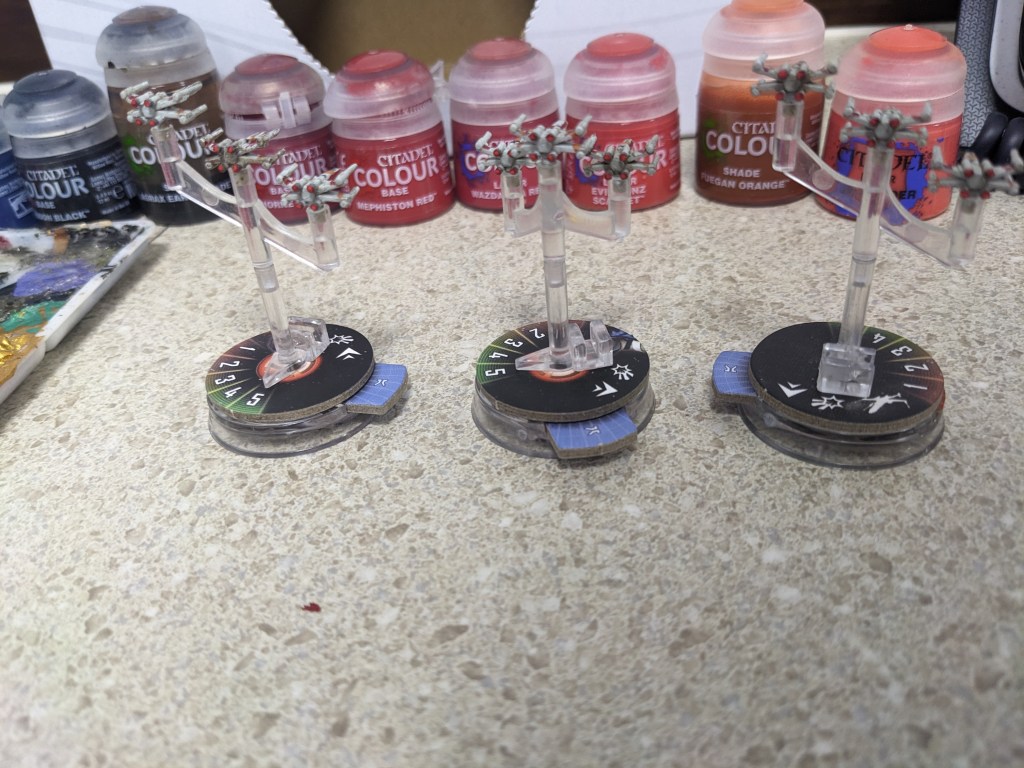
Today I am using Games Workshop paints. Once again this is not a sponsorship or promotion, I just like the paint. today we are using the following, though as many reds are not necessary if you do not own them. Layer Ulthuan Grey, Layer Dawnstone, Layer Eshin Grey, Base Jokaero Orange, Base Kantor Blue*, Base Abaddon Black, Shade Agrax Earthshade, Base Khorne Red, Base Mephiston Red, Layer Wazdakka Red, Layer Evil Sunz Scarlet, Shade Fuegan Orange, and Layer Wild Rider Red.
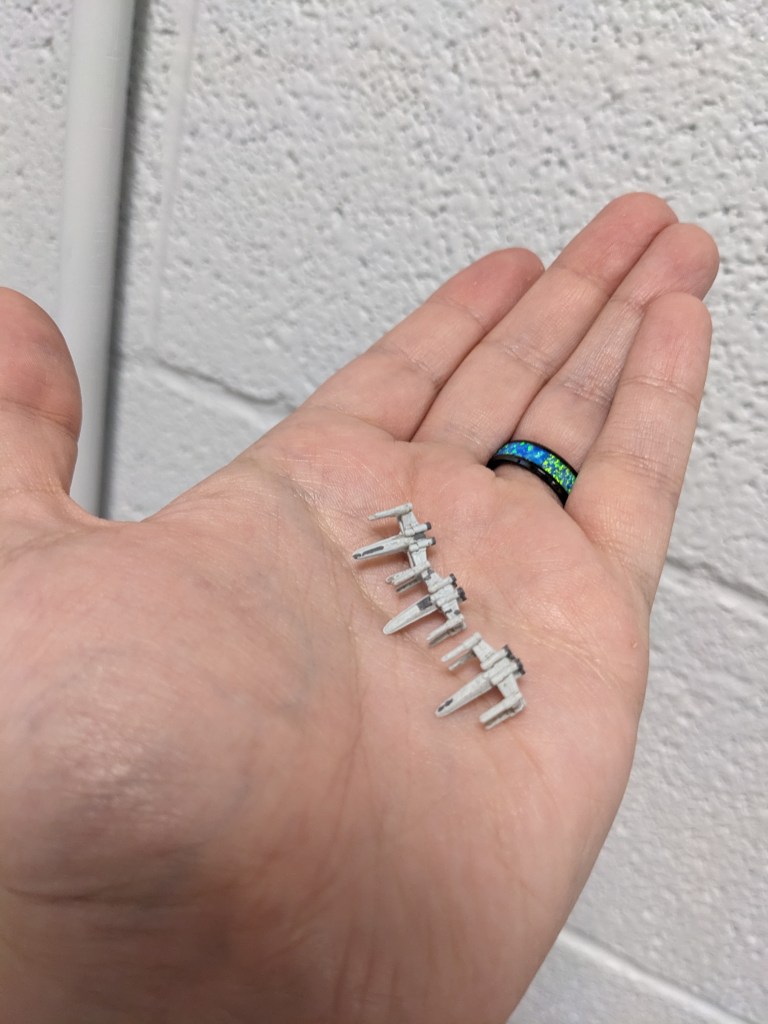
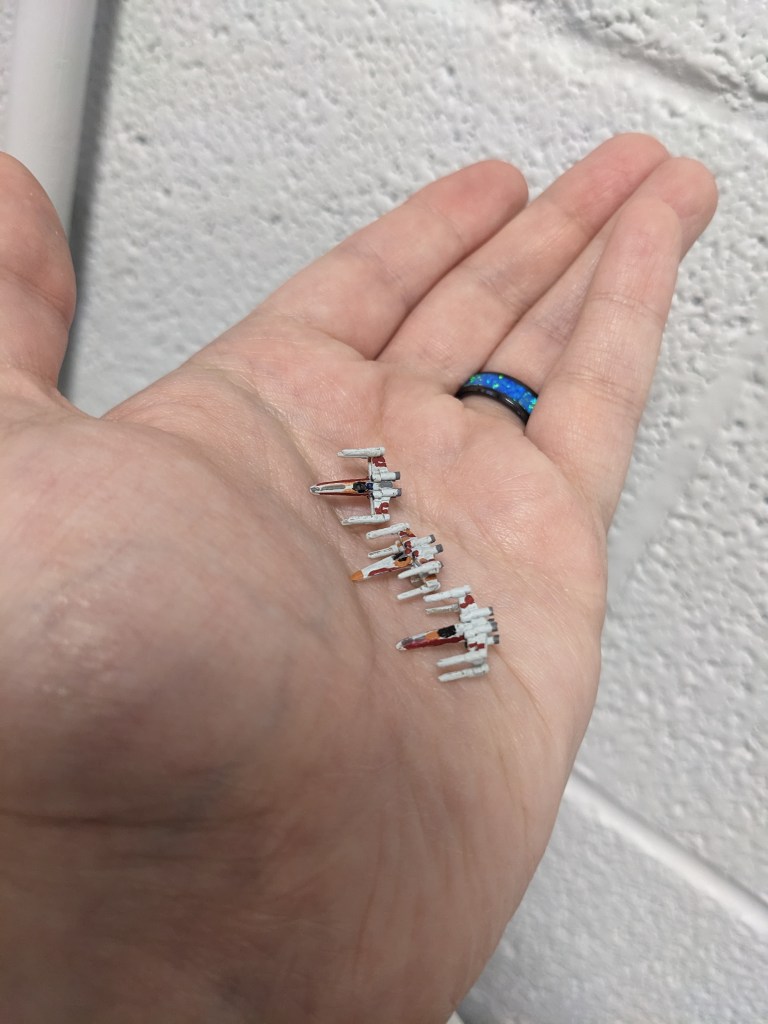
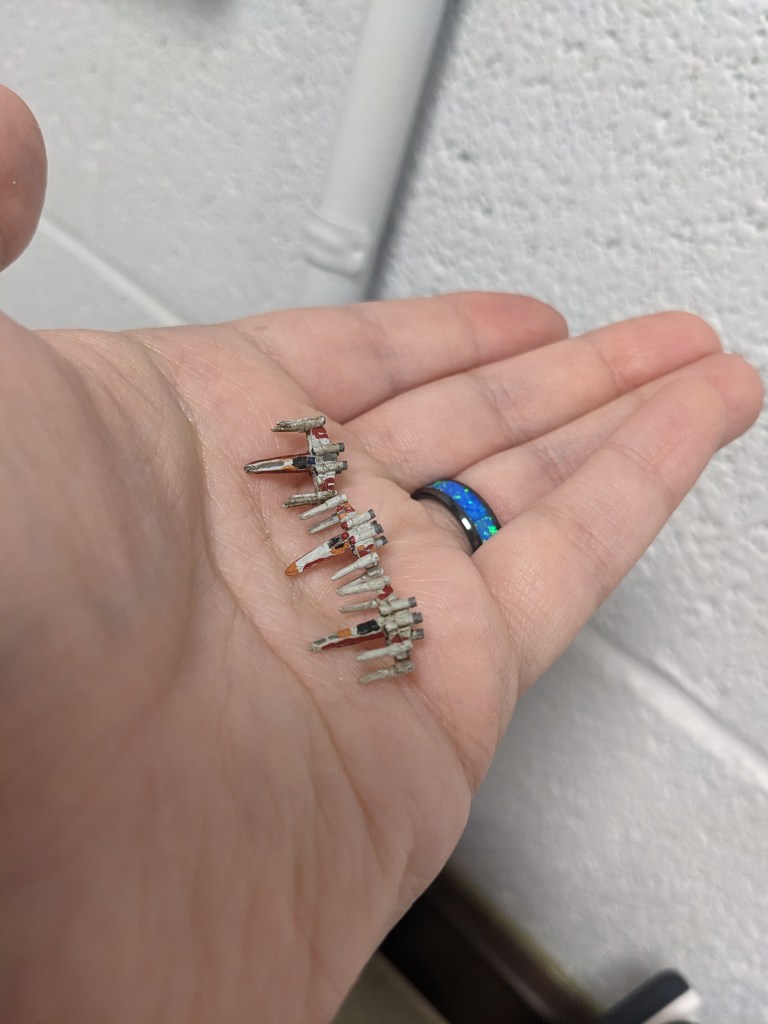
The color palette is a lot larger for rebel squadrons generally, but X Wings are so iconic I wanted to give them special treatment. There are a lot of tiny details I tried working into these itty bitty models. Just remember, it only has to look good from 3 feet away.
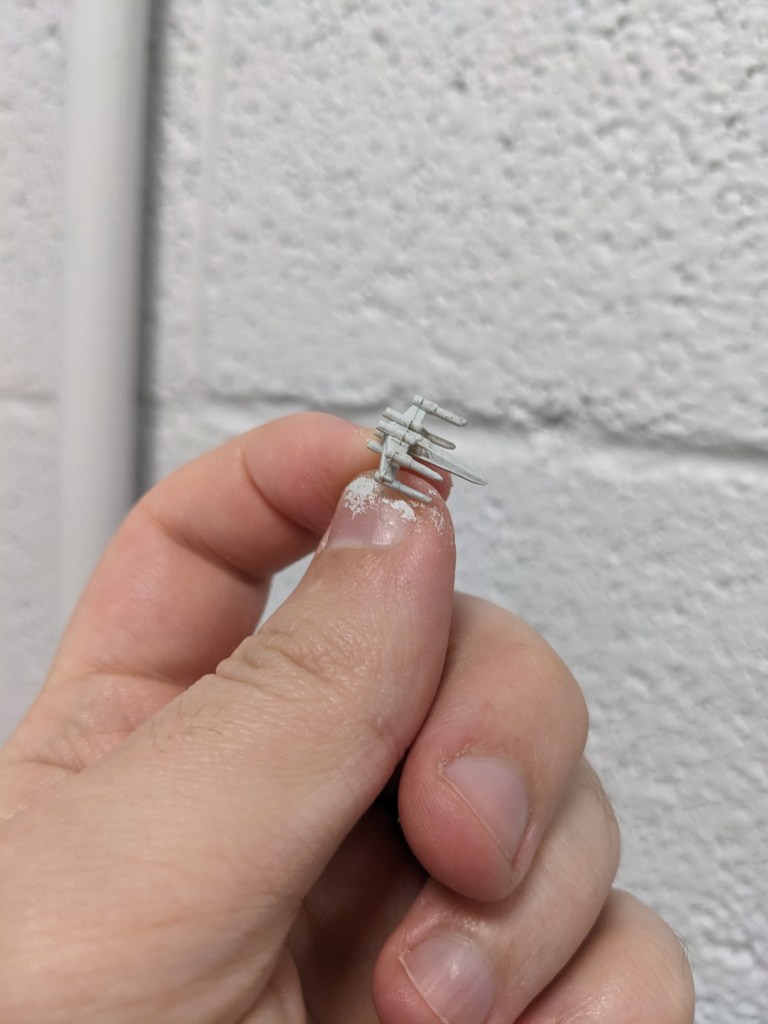
If you remember, when we did the B Wings we started with a mild tan that got darker with the Shade Agrax Earthshade. X Wings are generally portrayed as a dirty light grey to a light tan, so instead we are doing a coat of Layer Ulthuan Grey to start out.
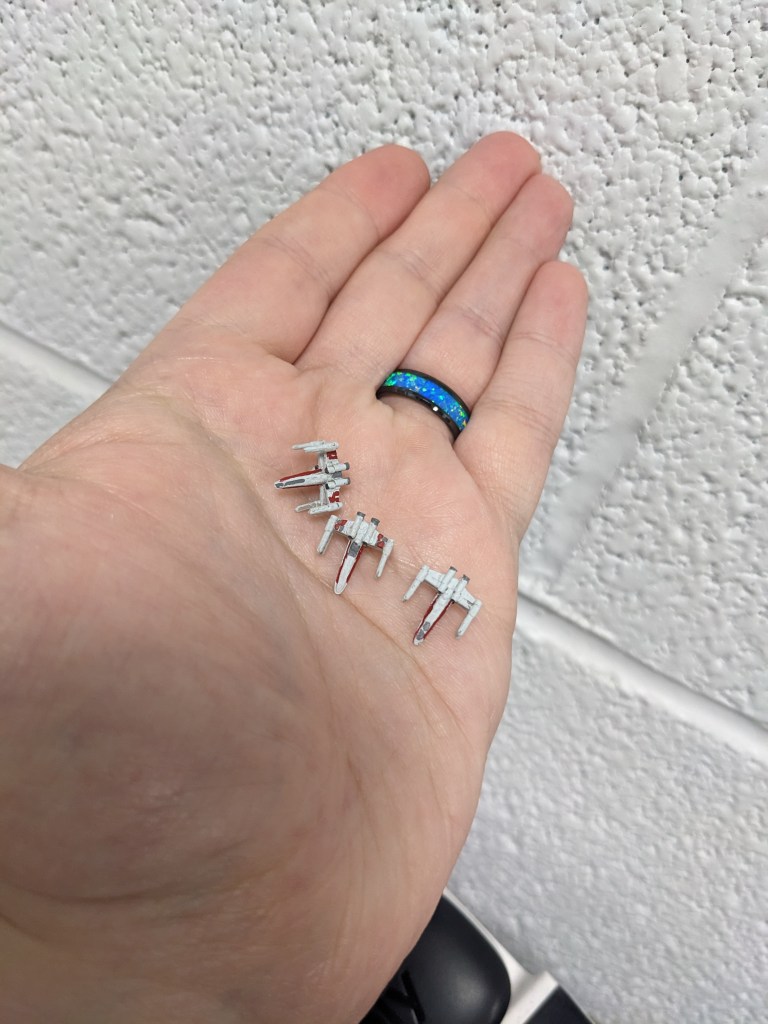
Next I came in with Layer Dawnstone and did some mid grey areas. From left to right to the end of this tutorial, it is Luke’s X Wing, Wedge’s X Wing, and then a standard squadron pilot if multiple are shown. Luke’s changes schemes between A New Hope and Empire Strikes Back, so pick your poison.
I went a bit more Episode V look, so I put a mid grey stripe on the nose of his craft.
Wedge’s canopy frame is the same shade of grey and has some detail work on his wings.
Lastly, the standard fighter usually has a small line in the nose and another right behind it. All X Wings got the back part of their engine cowls painted mid grey as well.
Next we use Eshin Grey for dark areas on the fighter. I did the front of the engines and a stripe for the proton torpedo launchers (both the tube opening and to represent the indent in the hull that usually gets smokey from the launches). This is optional, but should be around 1/3 of the overall length past the engines in the middle.
Next we use Base Mephiston Red to do some stripes! Luke has 5 thin vertical stripes on each wing edge, which I simply cannot do. I did two, leaving a gap so the stripe look was present.
Wedge has a similar solid pattern on his wings in between the grey. I later found a second movie model to reference. Either his X Wing changes between V and VI OR google is poodoo. You will see in later pictures that I went back and added a stripe on the engine hoods as well.
Lastly all X Wings got a red stripe down their hull on the upper edge of each side. This is VERY easy to get too thick or over bleed, but it can be reasonably fixed later with some touch ups. Don’t stress over it. If it gets a bit wobbly or thin in spots this is okay as well. Rebel fighters frequently are worn and battle damaged, so it’s just paint sand blasted off from exploding TIE Fighters or something. I went back later and did some wing detail work similar to Wedge’s without the grey after finding better pictures to reference of movie models. You will see that shortly.
Next we want to use Base Jokaero Orange to do some light orange work on the craft. It starts a bit bolder than it should, but the wash near the end will correct this.
Luke had a panel in front of his canopy this color.
Wedge has his nose, side of back sides of his canopy and a stripe on his upper wings in one movie.
The general purpose x wing has one near its nose. ALL X Wings got an orange stripe on their lower S Foils, about 1/4th away from the end.
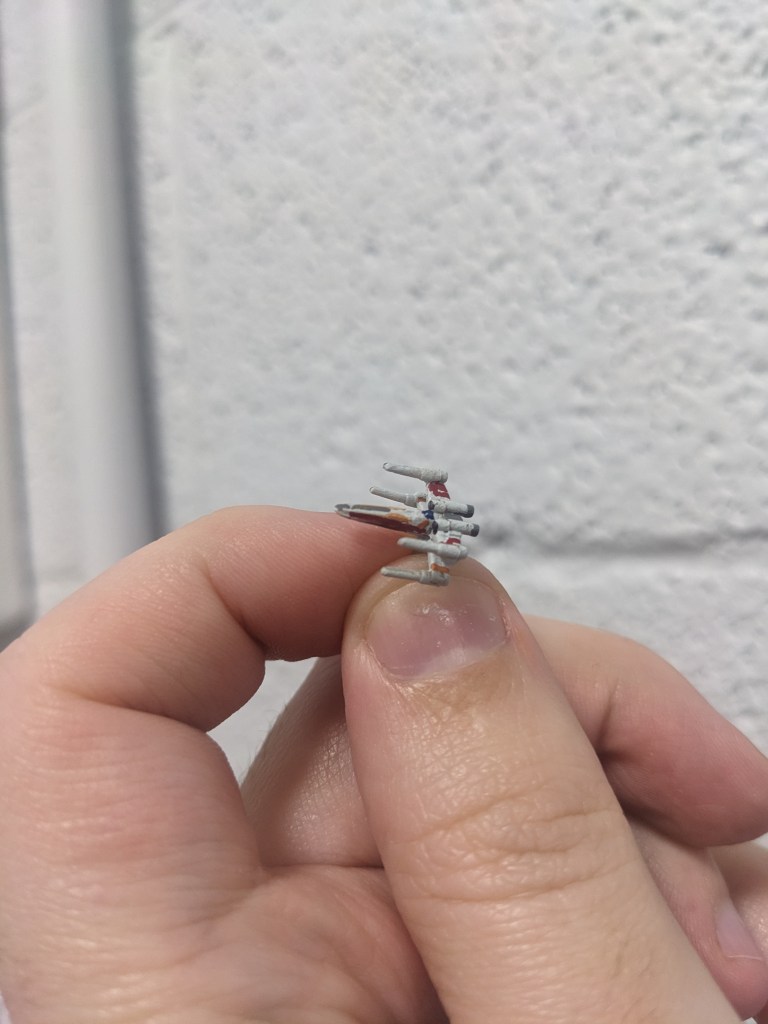
A better shot of the lower S Foil stripe.
Now we do the canopy with Base Abaddon Black. Unlike most of the TIE variants, the X Wing canopy on this model is not done in such a way with its deep cut to make it a simple dry brush over the frame and get nice detail. With the exception of Wedge, paint the upper section which ranges to just shy of the astromech unit down to the hull flush (and slightly beyond). The sides are a real pain, so take you time and do corrections with Mephiston Red like I did afterwards.
Now the big scary part. We just put a TON of work into our X Wings. They are looking pretty spiffy. BUT, they are bit too imperial grey and don’t have that classic grime and dirt that rebel scum are associated with. This part is going to be very important, so use a test model’s underside starting out.
We are going to use Shade Agrax Earthshade. We are NOT going to just apply it like normal. It is far to tricksy.
Lightly dab your brush tip into the shade.
Dab your paint brush onto a cloth or towel.
Lightly dab your brush tip into your water cup.
Dab your paint brush onto a cloth or towel.
What should happen is a very easy to control light brown water that is just thick enough to fill in recesses and slightly more.
In the event that this gets too dark, you have a brief window to correct this. First, get a big amount of water on your brush and wipe it down. It won’t hurt the model. If that does not do it, swish the entire model around in your paint cup, and then use a watery brush to wipe and control it.
I wanted Luke’s X Wing to look a bit toasted from battle and grimy from Dagobah, so I went darker on it. Went too dark, and then recovered it using the above steps until I got it where I wanted it.
Last note about this, I promise. It is okay if rebel fighters have varying degrees of wear. They do not all have to be equally worn, even parts on the same model!
For astromech droids, I did not have a great blue for R2 and didn’t feel like driving to my game store and buying a paint pot just for him (sorry R2, you are cool I promise). I used Base Kantor Blue as it was the closest I had. Wedge has a matching red droid in the movies, so I just used Mephiston Red.
All other fighters are usually shown with R5 or R2 units that have matching grey paint. This was probably due to just pushing production on non character craft, but you could trick them out if you wanted to.
Okay moving on to our last steps. Engine flare time! Base Khorne Red on the full back of the engines. There is a small divot on model which will make this easier than it looks.
Next a slightly smaller circle of Base Mephiston Red, smaller Layer Wazdakka Red, smaller Layer Evil Sunz Scarlet, and then a wash with Shade Fuegan Orange. If you accidentally cover a color altogether it is okay, it helps build up the overall color in the end still.
Lastly, to make it pop, a small dot of Layer Wild Rider Red about half of the total engine diameter.
How did you do? Let me know!
I couldn’t get good lighting today for whatever to show the engine flares well on my camera, but it pops slightly brighter than the B Wings which is what I was going for.

Leave a comment