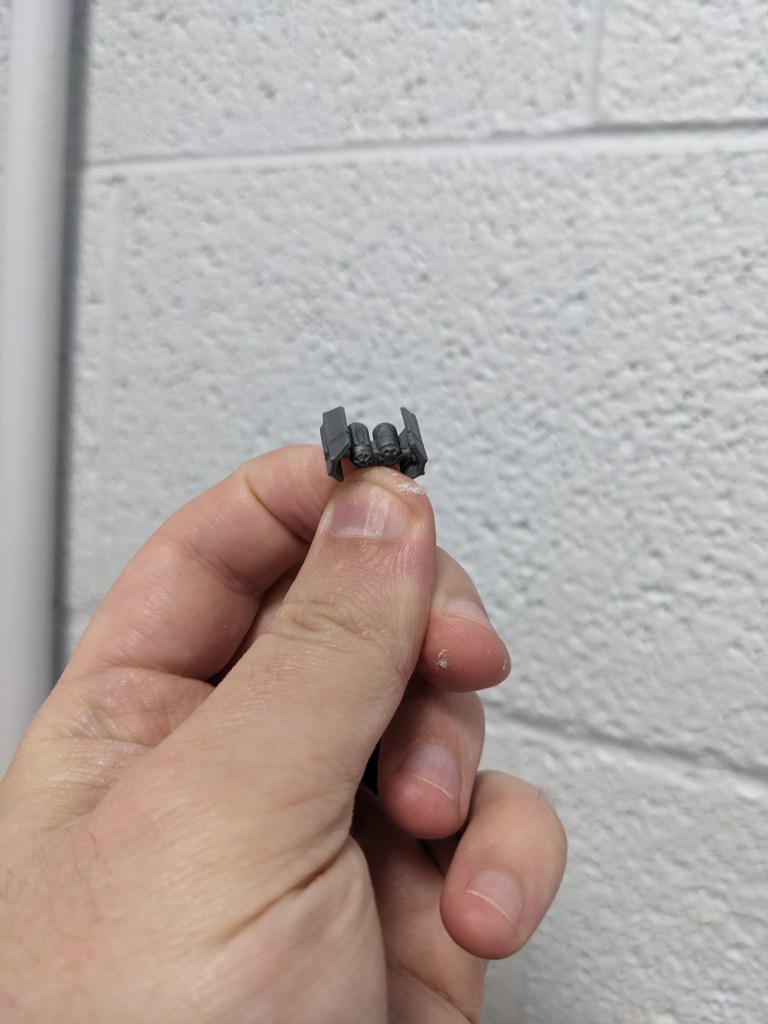
Hey everyone, we are back! Today we are continuing to get motivated on finishing our Squadrons. Grabbed at random from my Squadron Box we are doing the TIE Bomber! I’ve been really excited to try a classic TIE cockpit with 1 of 2 methods, so lets see how we do!
Like before, I am using Games Workshop paints because I like them. This is not a sponsorship or promotion.
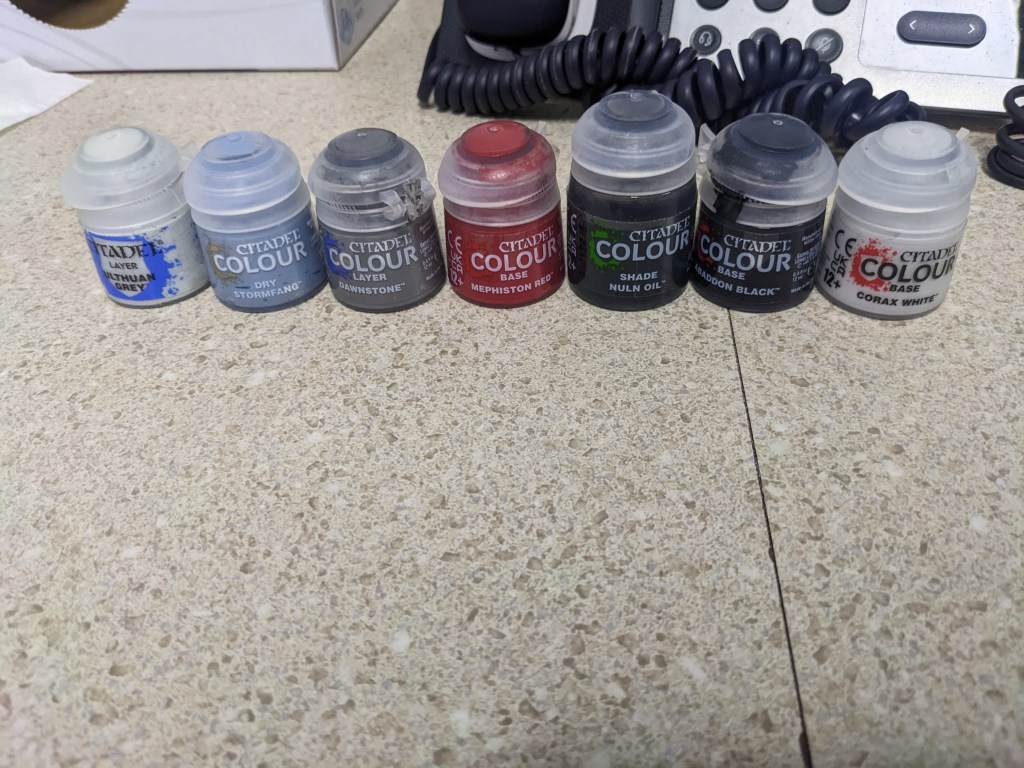
Today we will be using Layer Ulthuan Grey, Dry Stormfang, Layer Dawnstone, Base Mephiston Red, Shade Nuln Oil, Base Abaddon Black, and Base Corax White.
The wing angles are going to be mildly annoying but setting them upside down on your painting cloth or on their side will make it easy to reach inside the wing panels. Like with all Armada Squadron painting so far you will use the tinies brush you have and one size up.
Starting with our larger brush we are going to do the base coat for the craft. Like before, I like my heroes to stand out with alternate paint schemes so I can spot them amongst dozens if not hundreds of squadrons in large games. There are a few paint schemes to use in canon. The TIE Bomber first showed up in The Empire Strikes Back where the blue screening had got better and they were able to film it with the originally intended blue grey color. Also, because of original colorization in games and comics they also show up as a light grey, and the veteran pack from the X Wing Miniatures game had a nice mid grey with white stripe.
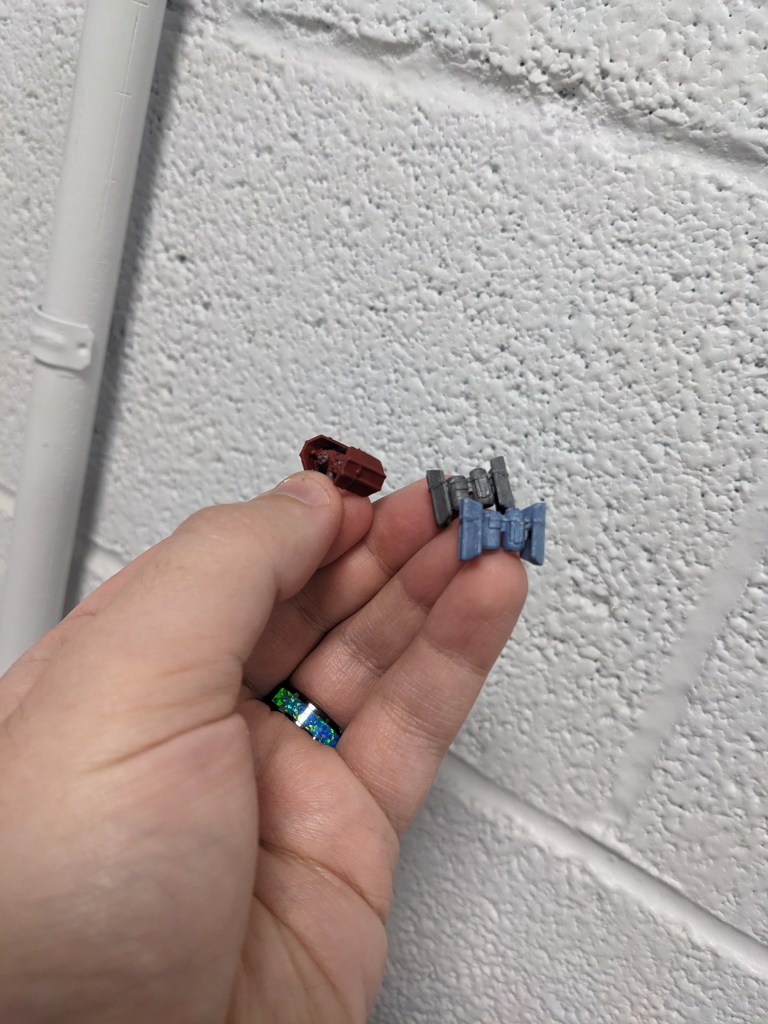
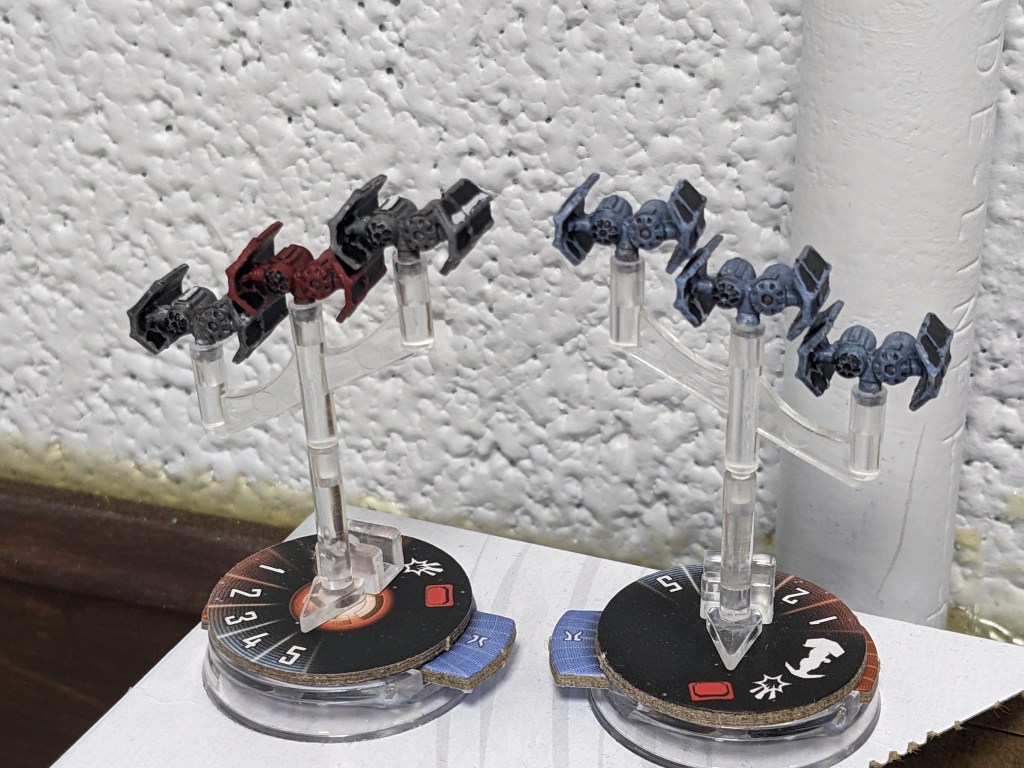
For me, I chose to do red for my named bomber pilots, the ace scheme for their wing mates, and classic blue grey for the basic bombers.
To achieve red, simply apply Base Mephiston Red on the whole thing. This will make trim work much, much easier when we fill in the black solar panels later instead of trying to barely touch each piece of trim.
For my veterans I used Layer Dawnstone which is practically identical to the plastic, but will make the other paints stick better and be more durable.
Lastly, for the blue grey we are going to do the same treatment we gave the TIE Phantoms. First, apply Layer Ulthuan Grey and then go over it with Dry Stormfang. Stormfang just needs to be on all of the trim and body of the craft, but an even coat will help durability.
If you are wanting to do the light grey, apply Layer Ulthuan Grey and then tone the shade to the desired amount with Shade Nuln Oil later on.
In this case, this includes painting the cockpit trim BEFORE doing black windows in its holes. I was pleasantly surprised to find that unlike the TIE Phantom the classic cockpit brushes much easier without hitting the panes. We will see how this comes out and then try it in reverse next time to see what the best option is.
Being imperial ships, they tend to be pretty basic which is good for fast painting. I painted Base Abaddon Black into all of the panel spots. The wing interiors didn’t have any details for it, so I just eyeballed it. It is far from perfect, but that is partially because my lazy eye was acting up really bad today and making micro depth perception hard.
We also applied black to the cockpit window panes. Their was some frame edges getting black as expected, but it looks acceptable. I do think painting it black first and then dry brushing the frame color on top might be the way to go, but we will find out!
I forgot to take a picture here, but next we use Shade Nuln Oil on the ships to help fill in some details and finalize the blue grey shade we are trying to achieve. These models don’t have a lot.
Lastly, the Veterans got white stripes using Base Corax White. The stripes should pop, so we want to do this AFTER the shade. The stripes are along the top line of the cockpit and the strut of the wings (top and bottom) of where they first indent. Once again, my lines were not the greatest today but look fine using the three-foot rule. If a model looks good from three feet away its good enough. I have more than enough stuff to paint so I am just going to move on and try next time.
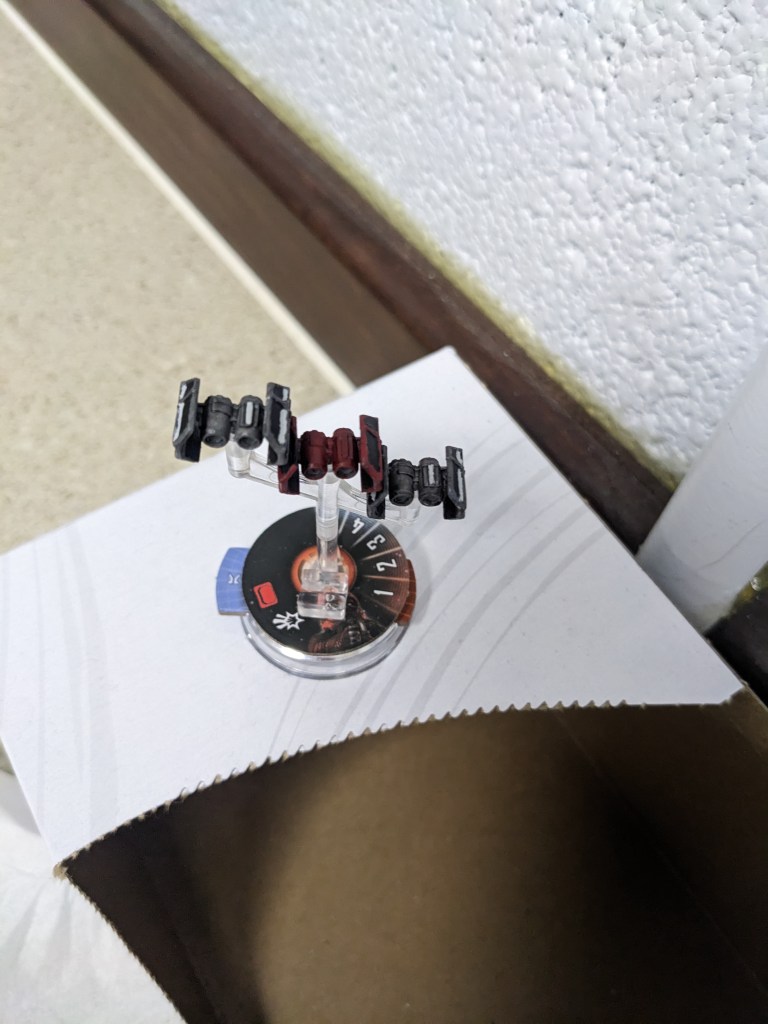
And there you have it! Imperial ships are simpler as a general rule of thumb unlike X Wings or the Millennium Falcon. As you can see most of the cockpits came out okay, but I’m curious if I can get enough of the black covered using dry brushing after the panes are painted. Subscribe to find out!

Leave a comment